What is Shutter Speed?
Shutter speed affects 2 things; it freezes or shows motion in photos, and controls the amount of light that reaches the sensor.
By the way, it may help you to understand the Aperture(f/stop) before reading further.
The shutter consists of a pair of mechanical curtains in front of the camera’s sensor. They open and expose the sensor to the scene (light) when you press the button to take a picture. While the Shutter is open, light travels through the lens, past the aperture, and hits the sensor to create the picture. The Shutter then closes and cuts the sensor off from light. This whole sequence can occur in thousandths of a second. In cameras with an electronic shutter, rather than physical curtains, the sensor turns on and off for the set shutter speed.
Shutter speed is the length of time the shutter stays open when the picture is taken. You can set it from a fraction of a second in most situations, to minutes or hours to capture certain effects. It’s also known as exposure time. The main effect of shutter speed is showing or freezing motion. Movement that happens during the exposure becomes part of the picture. During a long exposure, objects that move appear blurry. During a fast exposure, little or no movement can happen, so objects appear sharp.
Shutter Speed Affects the Exposure Triangle
When you shorten or lengthen shutter speed, it changes the amount of light that hits the sensor. If you double exposure time, say from 1/500th sec to 1/250th sec, this also doubles the light. The volume of light when you double or halve exposure is called an Exposure Value or Stop.
The sensor needs to receive sufficient light for proper exposure in the photo, otherwise it will be under or over exposed. Shutter speed, aperture and ISO* each control exposure. When you change the amount of light that flows through one, you must compensate through the others. They’re collectively called the exposure triangle because they’re interconnected. When you change the shutter speed by a certain number of stops, equal stops must be added or reduced by changing the aperture or ISO. For example, adjusting shutter speed from 1/2000th sec down to 1/125th sec increases exposure by 4 stops. You must then decrease exposure by 4 stops through either aperture, ISO or a combination of both.
*ISO doesn’t physically transmit any light to the sensor. It’s digital gain, which means that it artificially adds exposure to the image.
While this may sound like a lot of juggling, you don’t actually have to control all three settings yourself. Using an auto mode like Aperture Priority lets you manually control one setting while the camera takes care of the others. While the auto modes help manage exposure, you shouldn’t use full Auto mode. It gives control of all 3 settings to the camera and primarily exists for those who don’t know how to operate a camera.
The brightness of a scene or lack thereof can sometimes prevent you from using the settings that you actually want. You won’t always be able to use a slow shutter speed when it’s bright or a fast shutter speed when it’s dark. When it’s too bright for a slow shutter speed, you can use a Neutral Density filter. This is a dark glass filter that blocks light from entering the lens, allowing slower shutter speeds.
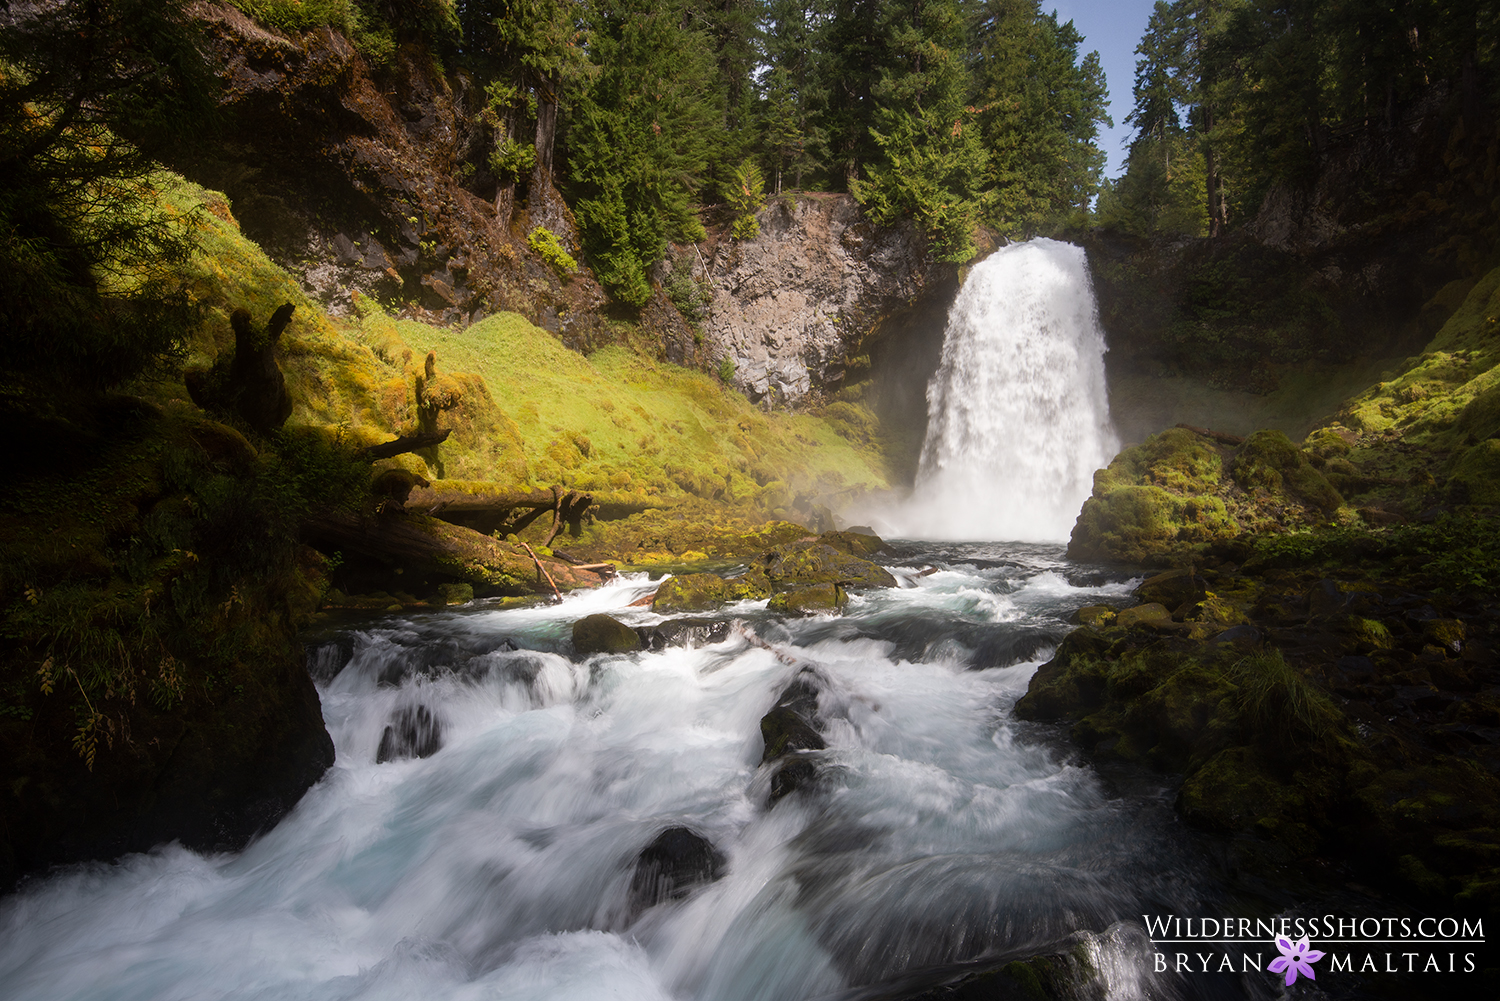
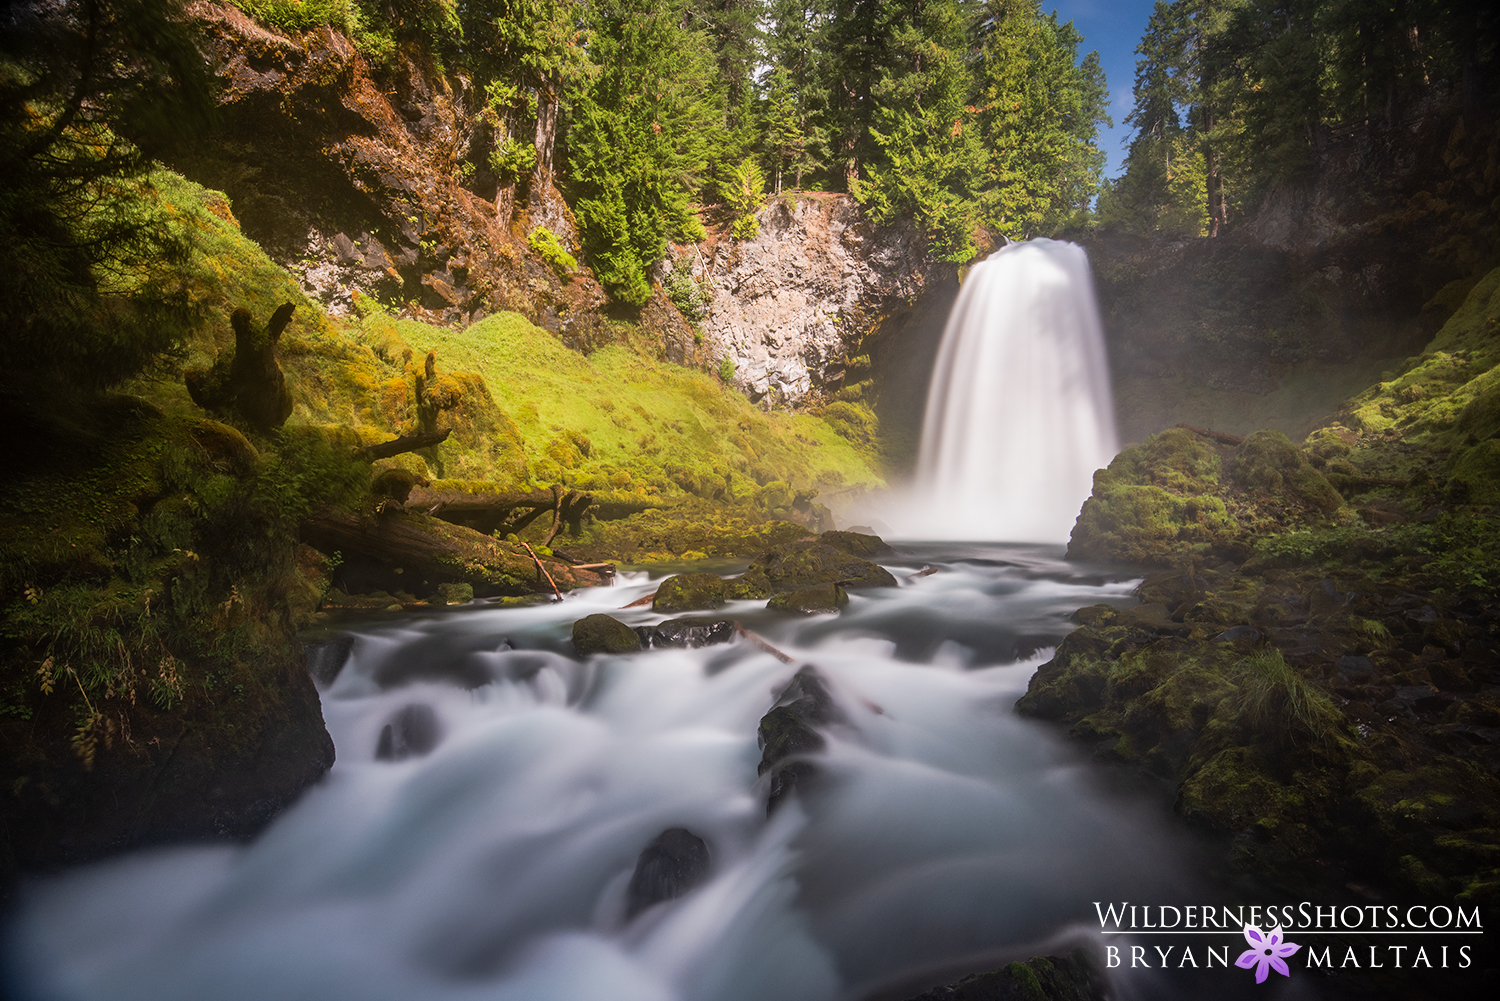
I shot the same fall with a long 10 sec shutter speed to completely smooth the water, and a faster 1/15th sec exposure to show less blur. (f/8, 10 sec, ISO 200) and (f/11, 1/15th, ISO 64)
How to Adjust Shutter Speed on your Camera
Before covering field settings, it helps to observe how the exposure triangle is interconnected. Grab your camera, set the shooting mode to Shutter Priority, and aim at a bright scene. Look at the camera’s display and find the f/stop and shutter speed. They may look like this “F8 500”, for example. Rotate the dial that controls shutter speed all the way up and down. On most cameras it ranges from 30 sec to 1/8000th sec. As you change the shutter speed, observe how the f/stop also changes to compensate for exposure. Increase ISO and observe how shutter speed increases.
Below are the standard shutter speeds. As you dial through them on your camera, you’ll notice intermediate numbers between each primary shutter speed. These are third stops, which are just for fine-tuning exposure/motion.
When you dial shutter speed below 30 sec, you should see “B” displayed. This denotes Bulb mode, which lets you shoot unlimited exposure times longer than 30 sec. The shutter stays open for as long as you press down the shutter button. Bulb mode functions differently on different cameras. On some models you have to physically hold down the shutter button during the exposure. Because this introduces camera shake, most photographers use a remote shutter release instead. Some cameras allow setting a specific exposure time in the menu.
What are the best Shooting Modes to Control Shutter Speed?
In the field, you should virtually always use Aperture Priority or Manual mode. There are few situations in nature photography where Shutter Priority mode is best. It changes the f/stop to maintain proper exposure. However, you need to keep manual control over the f/stop because it changes the look of the photo by altering depth of field and bokeh.
If you shouldn’t use Shutter Priority mode, how do you control shutter speed? By understanding the exposure triangle, you can control shutter speed by adjusting the other two settings. For example, in Aperture Priority mode, if your goal is a long shutter speed to blur water in a landscape, you can automatically produce the slowest shutter speed possible by setting a small f/stop and low ISO. Conversely, setting a large f/stop and high ISO produces a fast shutter speed to freeze motion.
How to Freeze Motion with a Fast Shutter Speed
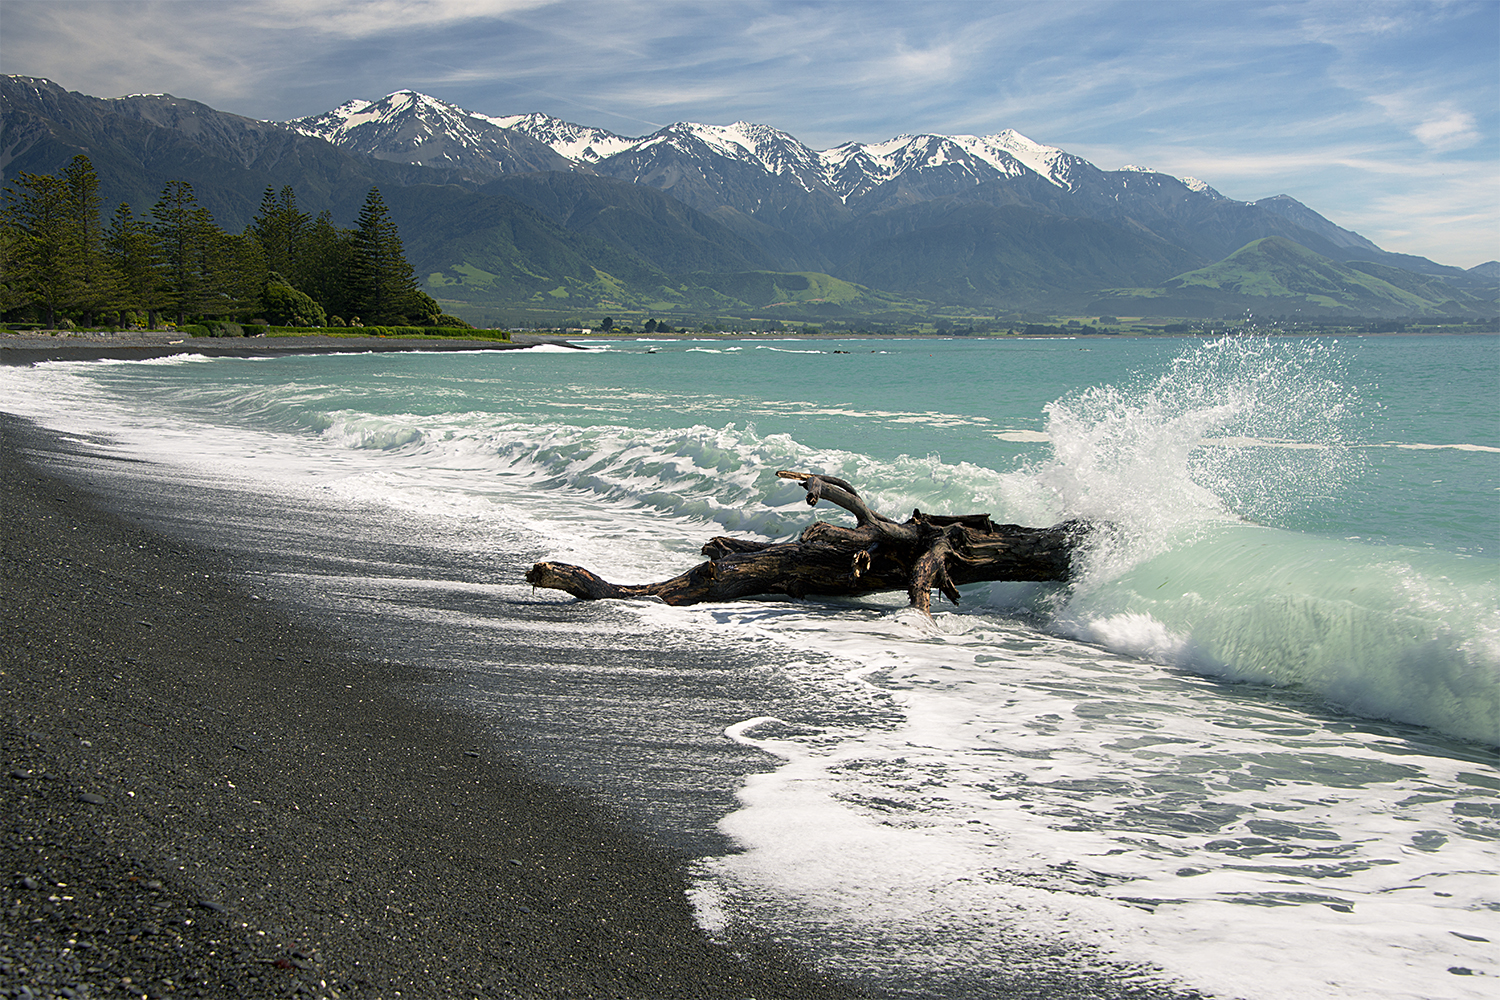
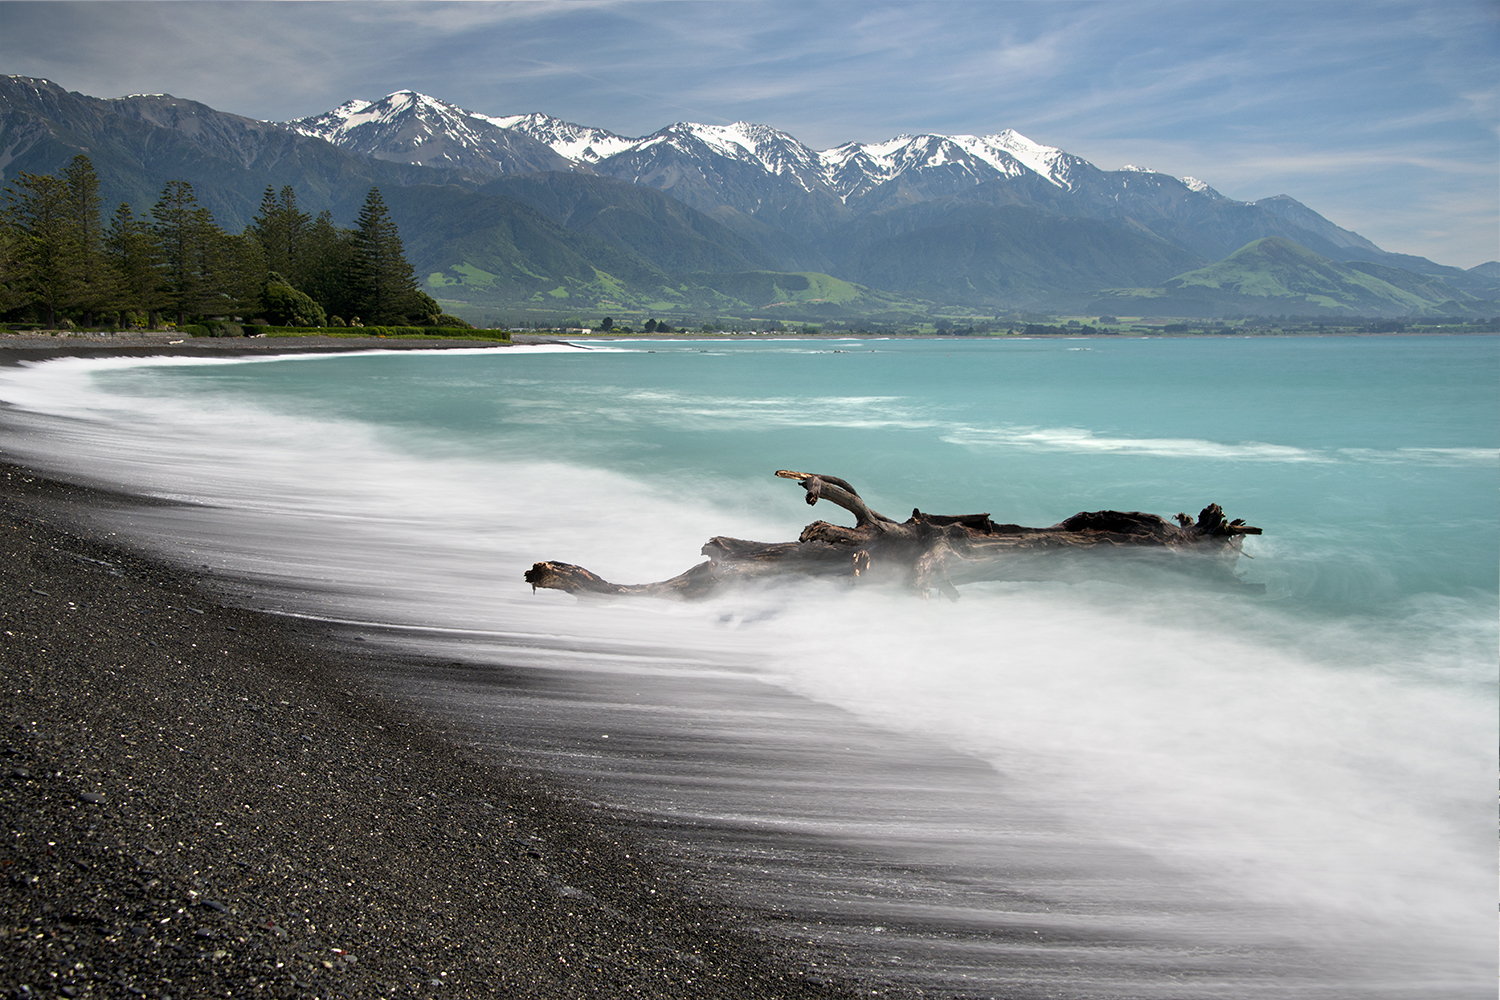
A 1/160th sec shutter speed froze the waves compared to 4 sec that smoothed them
How to prevent Camera Shake with the Reciprocal Rule
For starters, you should know the reciprocal rule, which tells you the minimum shutter speed needed to prevent camera shake. Camera shake causes blurry photos because the camera moved or vibrated during an exposure that was too slow to freeze motion. It usually happens when hand-holding the camera or even on a tripod if it wiggles in the wind.
The reciprocal rule states that when the camera is unstable, the minimum shutter speed to prevent blur should be equal to the lens focal length (Shutter Speed > Lens Focal Length).
So if shooting with a 500mm lens, you need at least 1/500th sec to prevent camera shake. If shooting with a 16-35mm zoom lens @ 20 mm, the shutter speed should be at least 1/20 sec etc… The reciprocal rule is just the baseline to get sharp photos of still scenes when you can’t use a sturdy tripod. It’s not fast enough to prevent motion blur in moving subjects.
If your lens and/or camera body has image stabilization (IS), you can get away with shooting slower than the reciprocal rule.
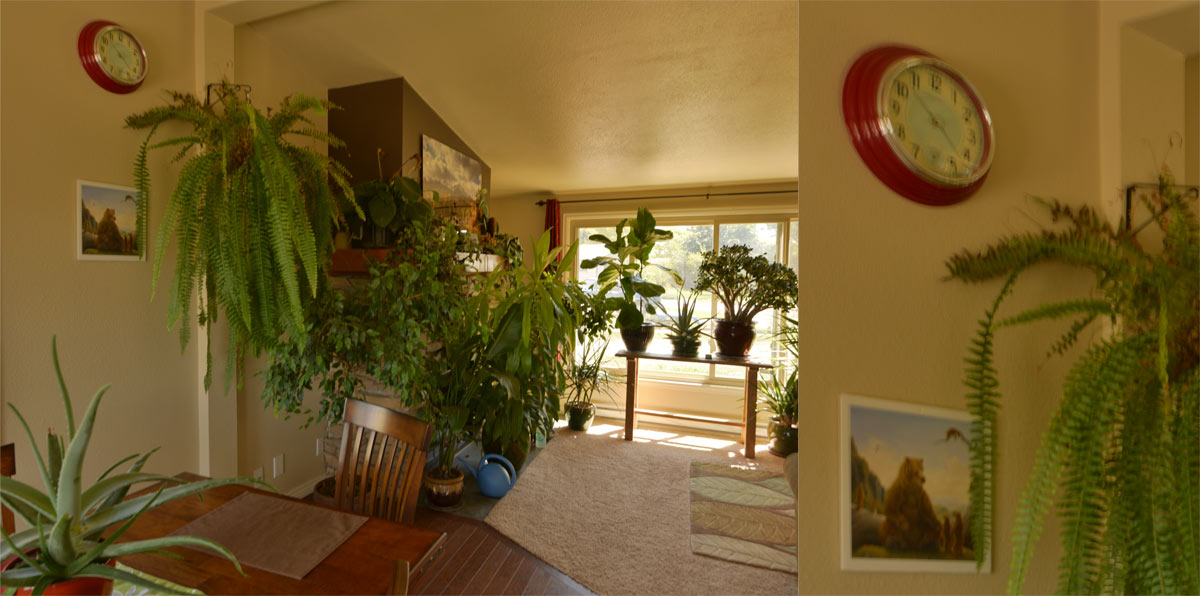
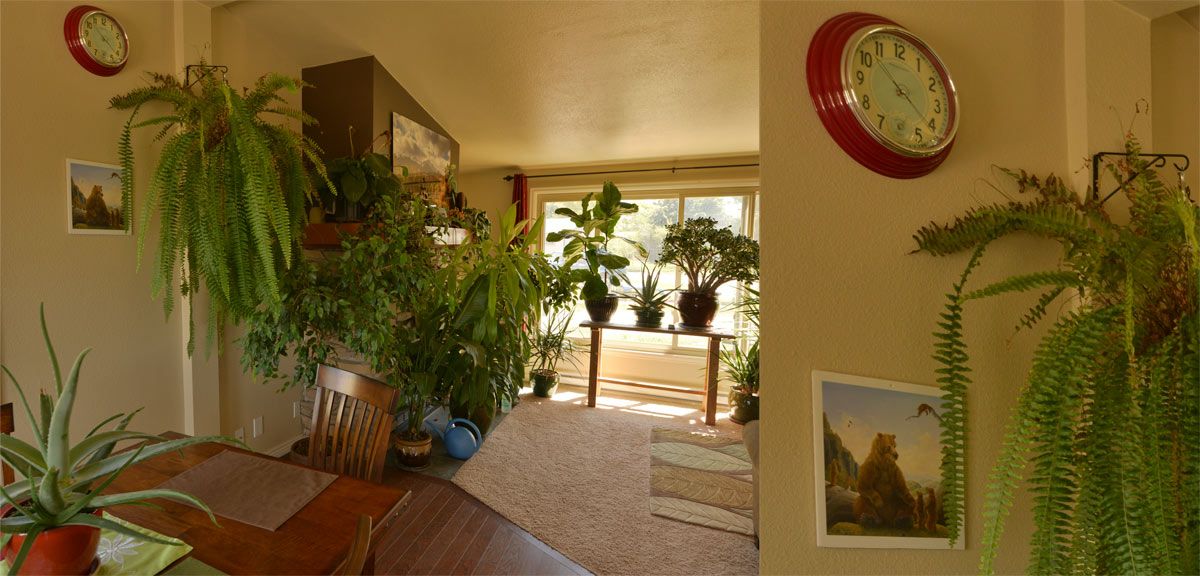
You can see the image that has blur from camera shake from using a Shutter Speed that was too slow while hand-holding. Taken at 1/8th sec, f/5.6, ISO 200 @ 21mm. The sharper image was taken using a shutter speed higher than the lens focal length. Taken at 1/30th sec, f/5.6, ISO 800 @ 21mm.
Using a Fast Shutter Speed to freeze Action
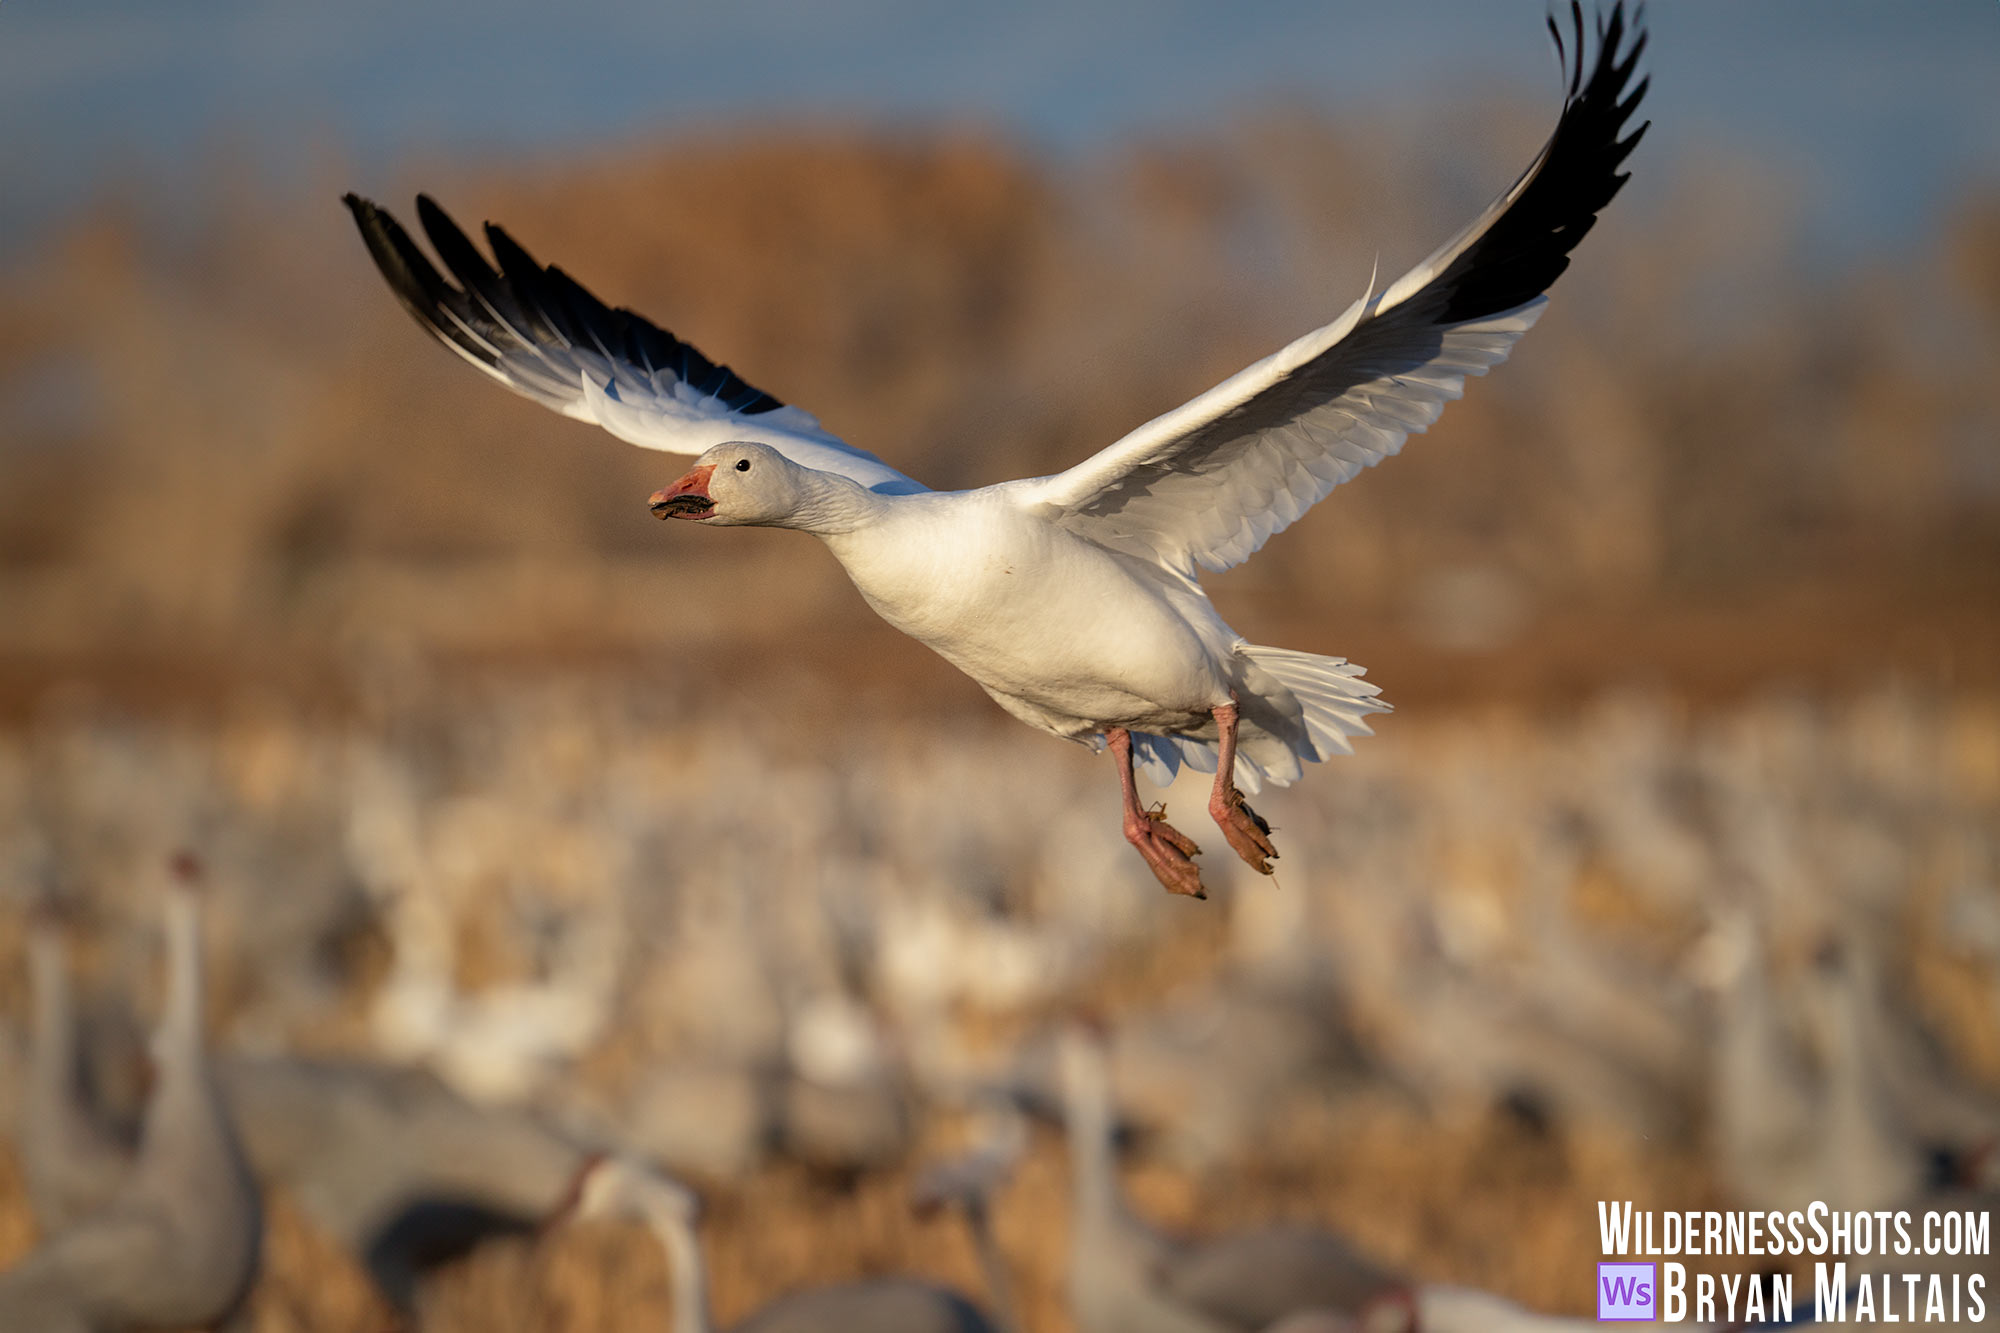
Given enough light and a fast enough shutter speed, it’s possible to freeze extremely fast and turbulent action. Picture a Snow Goose launching into flight off a pond with water spraying everywhere. Its feathers are sharp right down to the follicles, and every drop of water is perfectly crystalized in mid air. How do you know the minimum shutter speed needed to freeze such motion? Though complex equations can calculate this based on subject distance, speed, angle of travel and lens focal length, it’s easier to follow some basic guidelines.
The minimum shutter speed needed to freeze slow movement is about double the reciprocal rule. So if using a 500mm lens, 1/1000 sec would be fast enough to freeze an animal walking. If the animal is running or flying, at least 1/2000th sec is needed. At least 1/3000th sec is needed to freeze a hummingbird’s wings in flight. Since speed is relative through the lens, you need a faster shutter speed if the animal is closer. You can reach the point of diminishing returns where a faster shutter speed doesn’t make the subject any sharper.
Before committing to a shutter speed on a once in a lifetime shoot, take a few test shots and preview them at 100% to ensure there’s no hidden motion blur. Rather than experimenting, why wouldn’t you just set a much faster shutter speed than needed to eliminate any possibility of motion blur? In bright light you can do that. In dim light, you’ll be struggling to muster fast shutter speeds.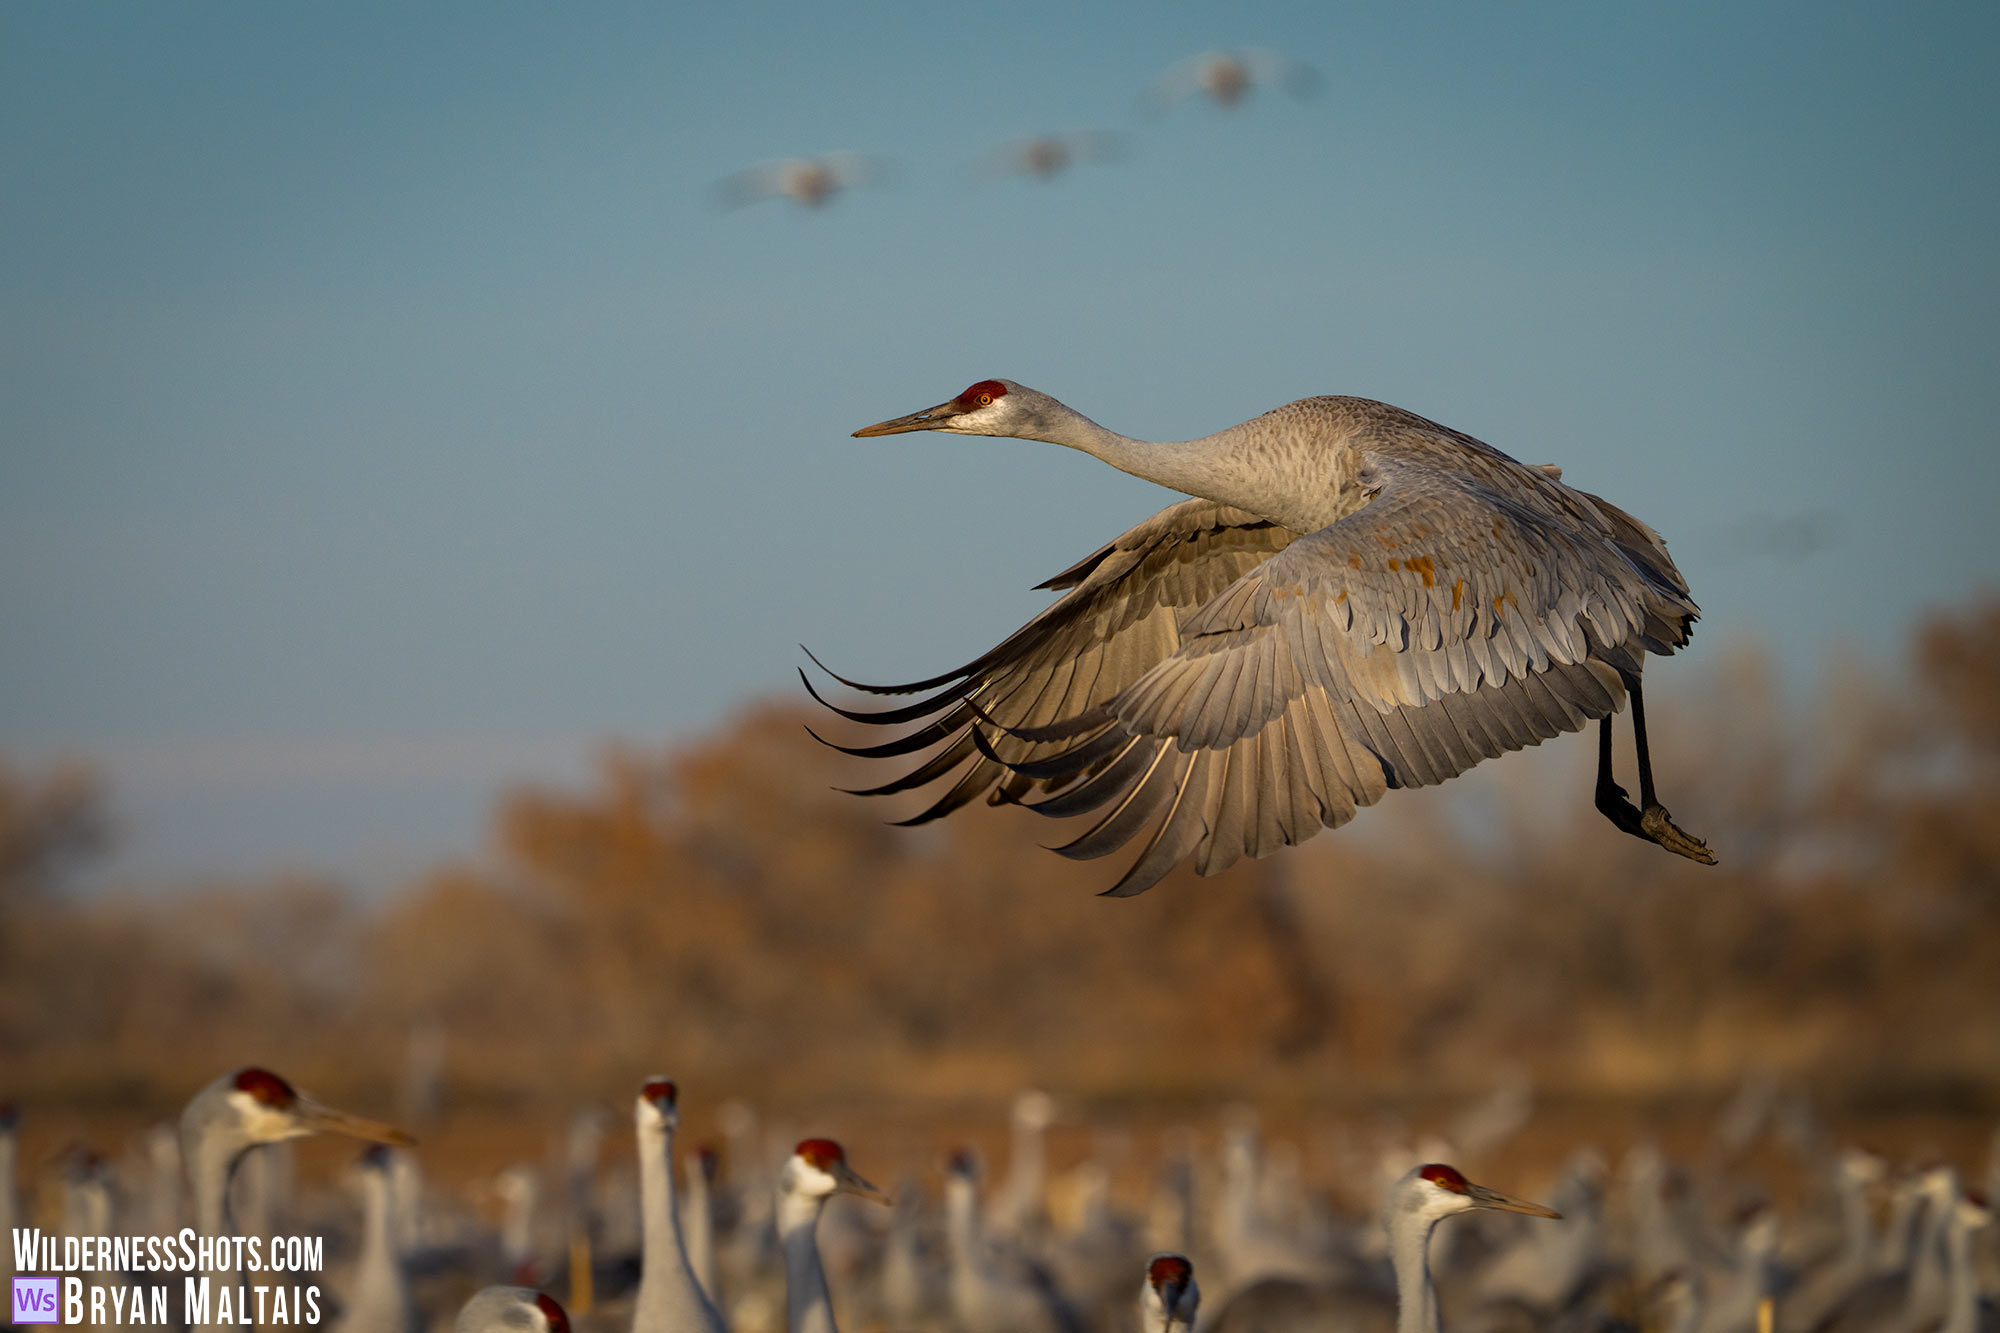 Sandhill Crane in Flight. f/8, 1/1250th, ISO 640
How to use the Panning Technique for sharp Wildlife Photos
Panning along with a moving subject, rather than keeping your camera fixed as the subject moves through the frame, can capture it more sharply with a slower shutter speed. It also has the added benefit of blurring the background. This happens because the subject effectively becomes stationary as you pan with it while the background blurs as it moves through the frame. To achieve maximum background blur, use the slowest shutter speed that still freezes the subject.
How to Create Motion Blur using a Slow Shutter Speed
Rather than freezing action, you can use longer shutter speeds to deliberately capture motion blur. Such images can come alive for the viewer. This requires using a sturdy tripod that won’t vibrate so the still parts of the image are sharp while the moving parts become blurry. The slower the shutter speed, the more blur. You can capture slight motion blur with the subject still recognizable, or use a longer exposure that records so much blur that the subject practically disappears into an unrecognizable cloud.
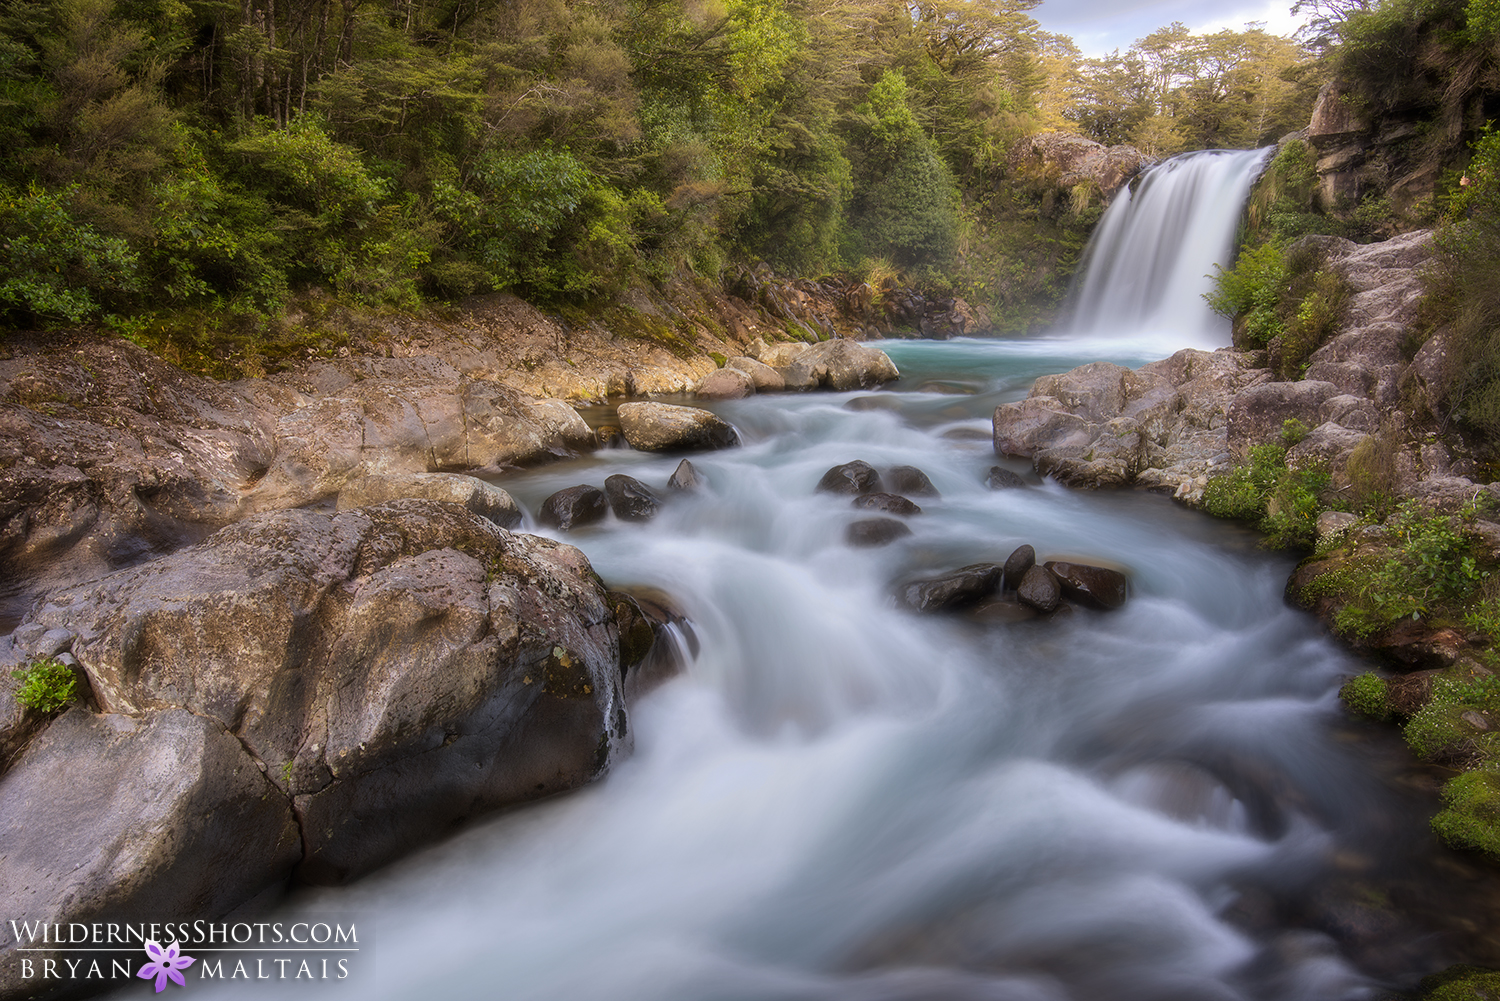
A waterfall turned to smooth silk is the classic example of using a long exposure to portray motion. In rushing water, you can begin to see some blur at shutter speeds slower than 1/100th. 1 to 3 sec exposures make the water begin to look like silk while retaining definition from its current. Exposures longer than 3 to 5 sec render the rushing water completely smooth with no detail. These numbers may vary greatly depending on water speed, distance and focal length.
Photographing waves with exposures around 10 sec and longer can render an effect that resembles mist rising from the water. It’s particularly strong in crashing waves on a beach. As the waves rise and then retreat, subtle, white blur accumulates into what looks like fog rising off the water.
Long exposures can be used to make moving objects vanish from photos. At landmarks with lots of people walking around, a long shutter speed can make them disappear by blurring their motion. The farther away and smaller the people, the better it works. However, using an excessively long exposure can make their motion trails accumulate into an odd colored fog, just like the surf on the beach.
Perhaps the ultimate example of motion blur is capturing circumpolar star trails as the Earth spins. Stars form bright concentric circles around Polaris in the photo during continuous exposures lasting 15 minutes to several hours.
On bright days there can be too much light to use slow enough shutter speeds to capture motion. This is what a Neutral Density filter is for. It’s a dark piece of glass that blocks a certain amount of light from entering the lens, thereby allowing slow shutter speeds.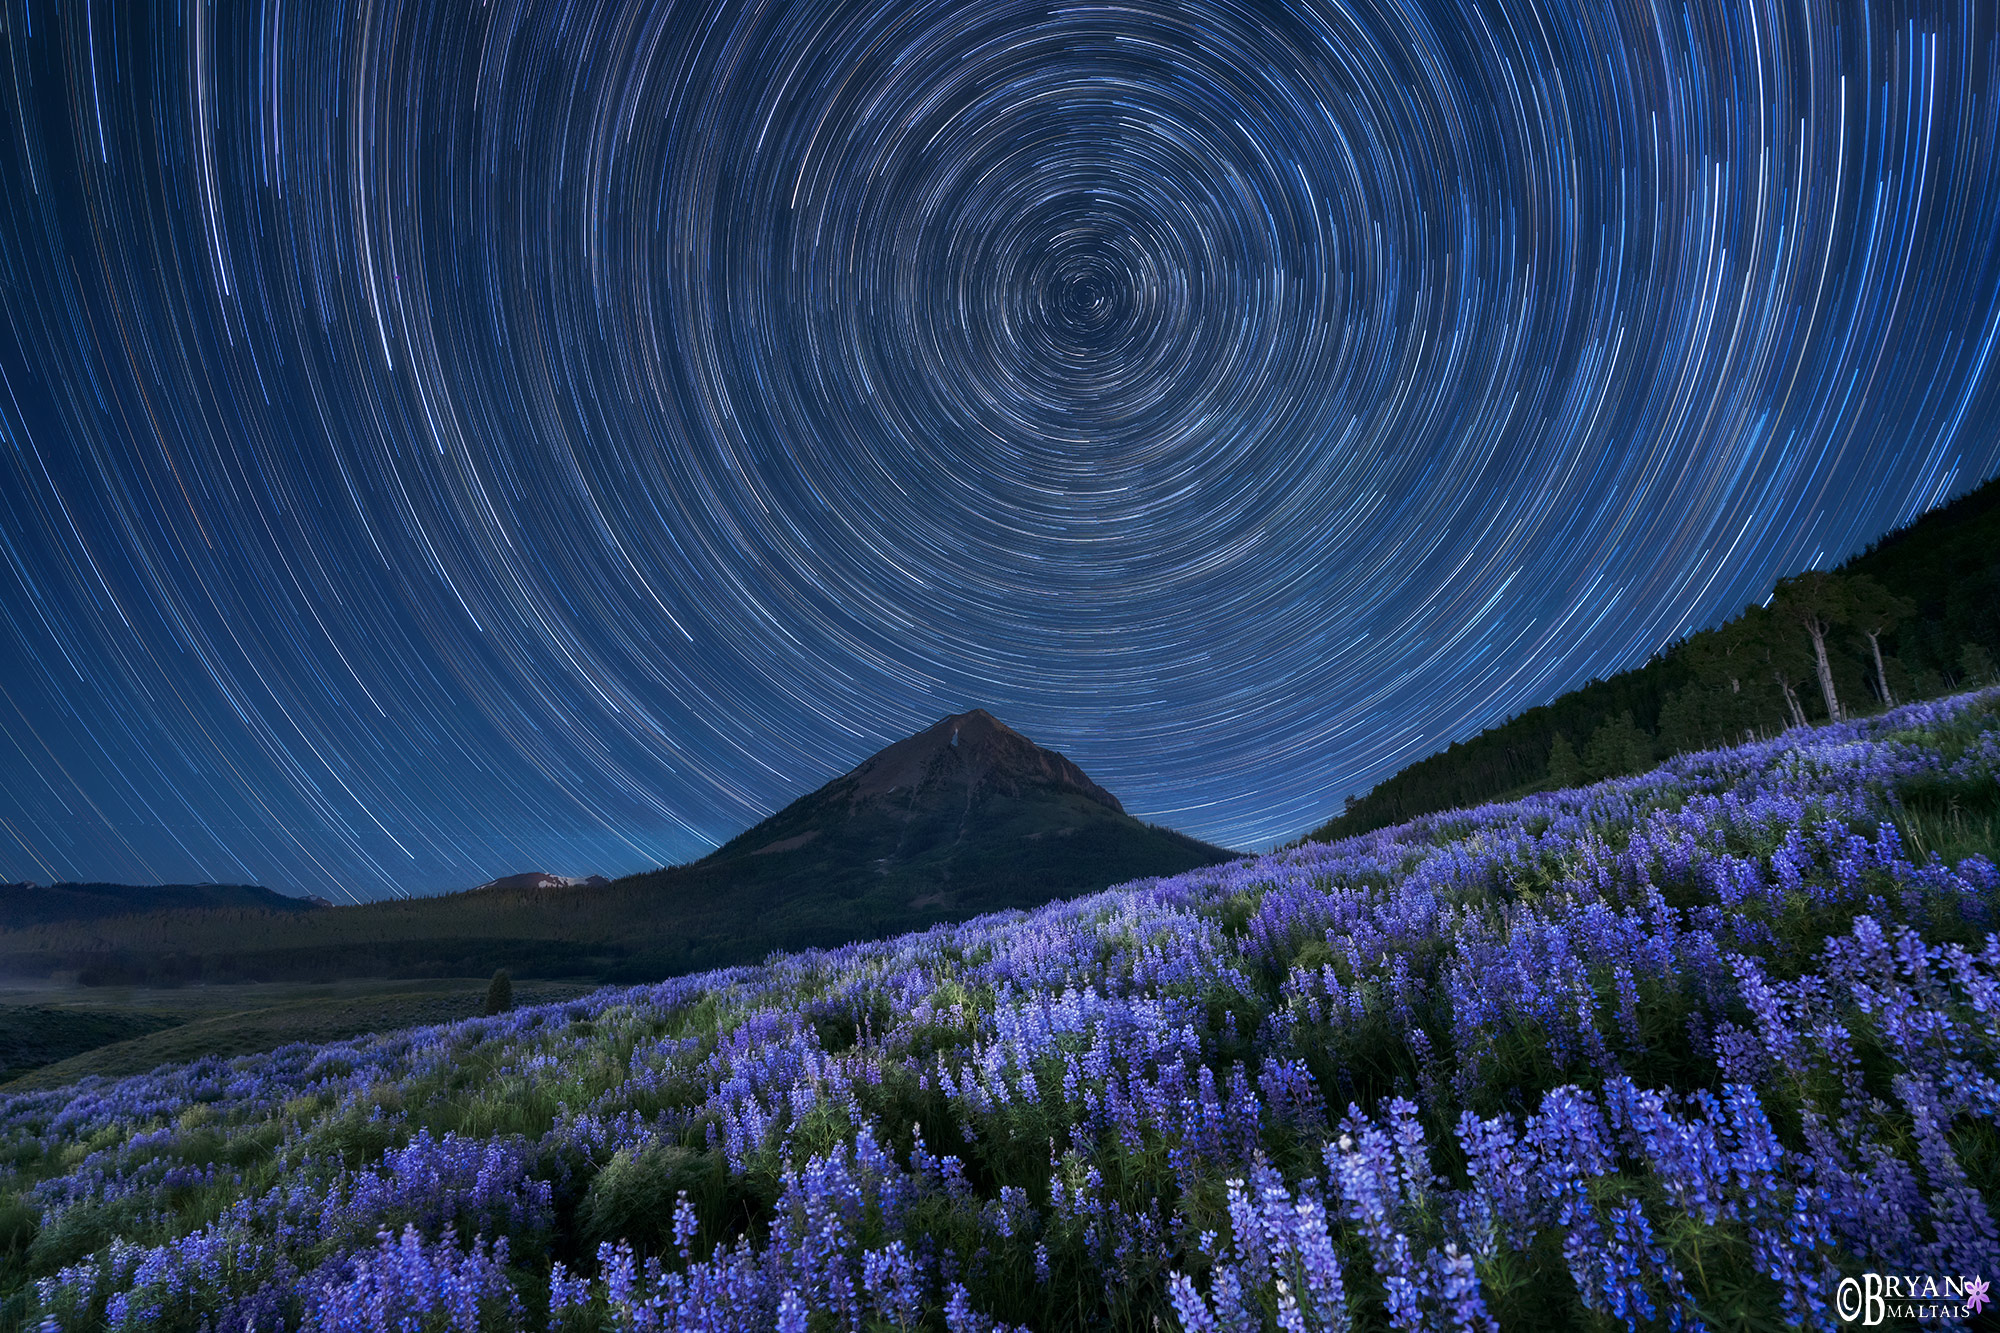 Star trails around Polaris during two hours of continuous exposures
How to set Shutter Speed when there’s no Motion
In landscape photography, many scenes have no motion to freeze or blur. The photo would look exactly the same whether you used a fast or slow shutter speed. Blur from camera shake also isn’t a concern as long as you use a tripod and a the camera’s self-timer (or a remote shutter) to take the picture. In this situation you don’t really have to think about shutter speed at all. In aperture priority mode, you’d set the desired f/stop and ISO because they affect the look of the photo, and simply let the shutter speed fall wherever it may.
How to use Shutter Speed In Summary
When hand-holding your camera, use a shutter speed greater than the lens focal length to prevent camera shake; this is the reciprocal rule. To freeze motion, use a shutter speed faster than the reciprocal rule. Faster motion that’s close to the camera requires an even higher shutter speed. To blur motion, mount your camera to a tripod and use a slower Shutter Speed. When you increase shutter speed by one stop, you have to open the aperture or increase ISO by one Stop to maintain proper exposure. If you decrease Shutter Speed, the opposite is true.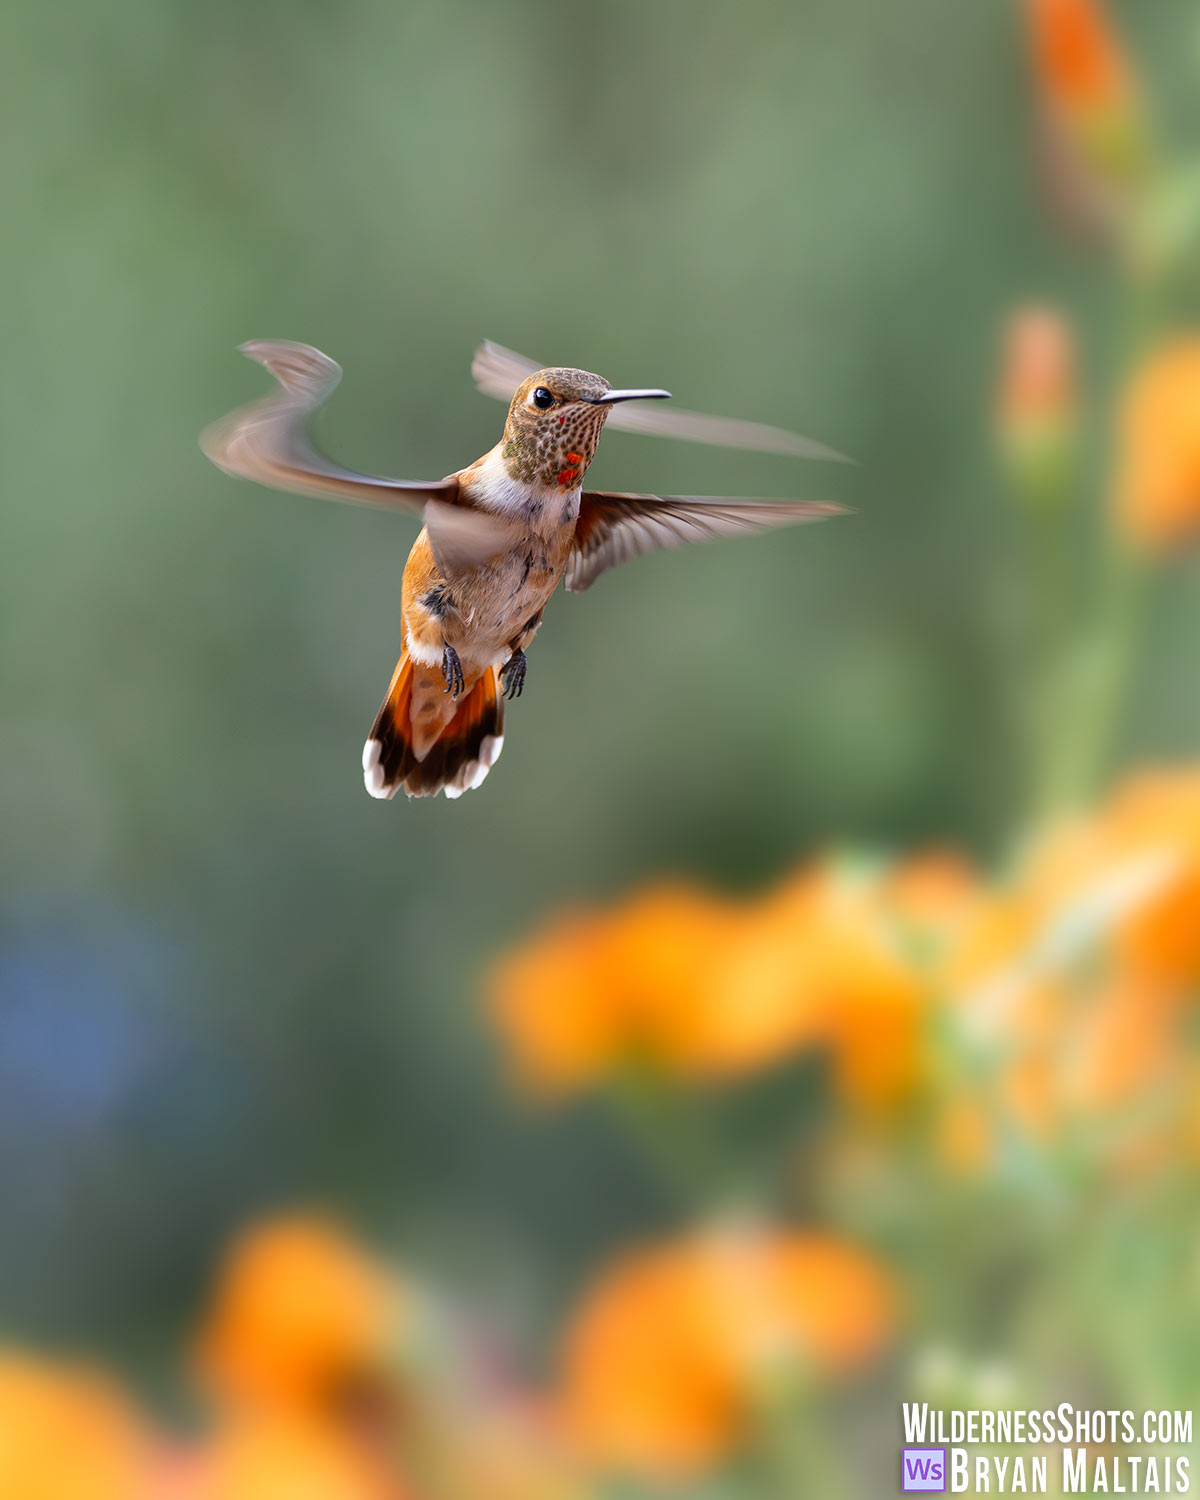



4 Comments