
EXPOSURE MODES
The exposure mode, also called shooting mode, determines which of the three settings you control manually and which ones the camera adjusts automatically. On most cameras, the exposure mode is set with the big, chunky dial on top of the camera body that reads “M” for manual, “S” for shutter priority, “A” for aperture priority, “P” for program, and “A” for auto. Canon calls shutter priority “Tv” and aperture priority “Av”.
The manual and semi-automatic modes are aperture priority, shutter priority, and manual. These are the modes you should become familiar with because they allow you to manually control one or more of the settings, sculpting the photo’s look. Of these, aperture priority and manual are the two modes predominantly used for nature photography.
The full auto modes include program, auto, and scene modes (Landscape, Portrait, Sports, Night, etc.). These modes forfeit creative control over the camera settings and are intended for photographers who haven’t learned how to control the exposure settings yet.
Each mode gives you direct manual control over the setting, which is most important to you for controlling the look of the scene. You can shoot any subject matter with any of the manual/semi-auto shooting modes since you can indirectly adjust the other settings by manipulating the one(s) you control. However, I recommend using specific modes for certain situations.
Aperture Priority Mode
In aperture priority (AP) mode, you set the f-stop based on the desired depth of field (DoF), and the camera adjusts the shutter speed for proper exposure. The ISO remains at the value you set. For scenes with no motion, in which shutter speed doesn’t matter, you can let the shutter speed fall where it may. This is typically the scenario when shooting landscapes with the camera tripod mounted. To freeze or blur motion, you can adjust the ISO and/or aperture to achieve the desired shutter speed. AP is usually the best mode for landscape photography.
Manual Mode
In manual mode, you control all three exposure settings without help from the camera. Manual mode isn’t typically used for daytime shooting because it can be challenging to manage all three settings as ambient light levels fluctuate. Despite its reputation, manual mode isn’t unconditionally the “professional’s choice.” In fact, using it in the wrong situations can slow you down and cause missing the shot.
Manual is the best mode when there’s not enough light for the camera to meter the scene and render accurate exposure. Examples include night sky photography and when using very dark neutral density filters to capture motion. Manual is also the best mode when flash is the sole source of illumination because the exposure readings while setting up the scene will differ from when the picture is taken with flash as the sole illumination source.
Additionally, manual mode should be used when exposure consistency between shots is needed to merge them into a composite image, like with focus stacking and panoramas. If one frame has different brightness, it may not seamlessly blend into the composite. Manual mode solves this problem by maintaining the same exposure settings for each frame.
Manual + Auto ISO Mode
Using manual mode with auto ISO activated functions like a distinct shooting mode. It allows you to manually control the shutter speed and aperture, giving you maximum creative control while the camera handles exposure by adjusting the ISO. This is a powerful and liberating mode for any type of hand-held shooting under ambient light where a minimum shutter speed is needed to prevent motion blur or camera shake. This control and flexibility makes manual + auto ISO ideal for wildlife and (non flash) macro photography.
Shutter Priority Mode
In shutter priority (SP) mode, you set the shutter speed based on the amount of motion you want to freeze or blur while the camera adjusts the f-stop to regulate exposure. The ISO remains at the value you set. In most situations, you should not use SP mode because it constantly adjusts the aperture, which changes the DoF. This creates an inconsistent look between photos and takes creative control away from you. Although SP gives you direct control over the shutter speed, Manual Mode + Auto ISO also provides this, while letting you control the f/stop. One scenario in which SP mode can be useful is when setting a specific shutter speed to render a particular amount of motion blur in a moving subject or part of the scene.
Auto Mode
Auto mode controls all three settings, giving you no agency over the creative look of the photo. It uses the lowest possible ISO to deliver a reciprocal shutter speed (shutter speed = lens focal length). These settings prevent motion blur in handheld photos of still subjects but don’t freeze fast action. You also can’t adjust peripheral settings, including white balance, flash, exposure compensation, and focus area. Auto mode is useful for getting some initial wheel time behind your camera before you’ve learned how to use it, but relying on Auto mode long-term defeats the purpose of having a nice camera.
Program Mode
In Program mode, the camera sets what it thinks is the best combination of ISO, aperture, and shutter speed to render a low-noise photo that’s sharp and has moderate depth of field. It differs from Auto mode because you can override the f-stop and shutter speed by rotating the dial. To do this effectively, you need a basic understanding of manual settings, so you might as well go all the way and use one of the manual/semi-auto modes.

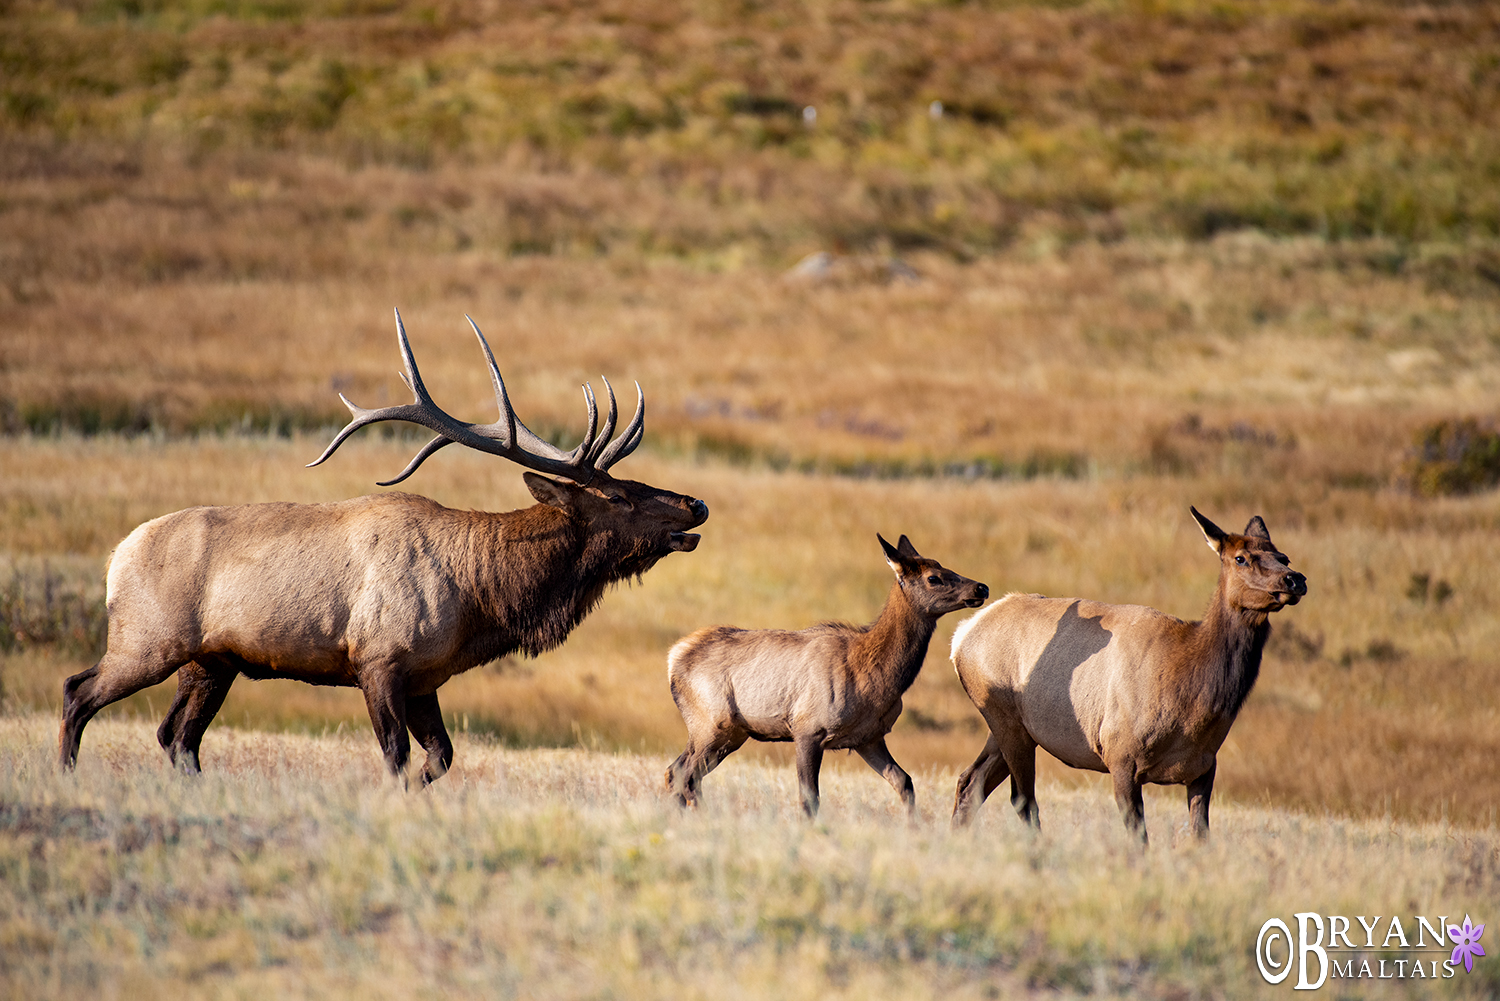
Top left-Mountain Wildlflowers. Aperture Priority mode was used because the f/stop was important to control DoF, but the shutter speed was not because there was no motion to freeze in the scene.
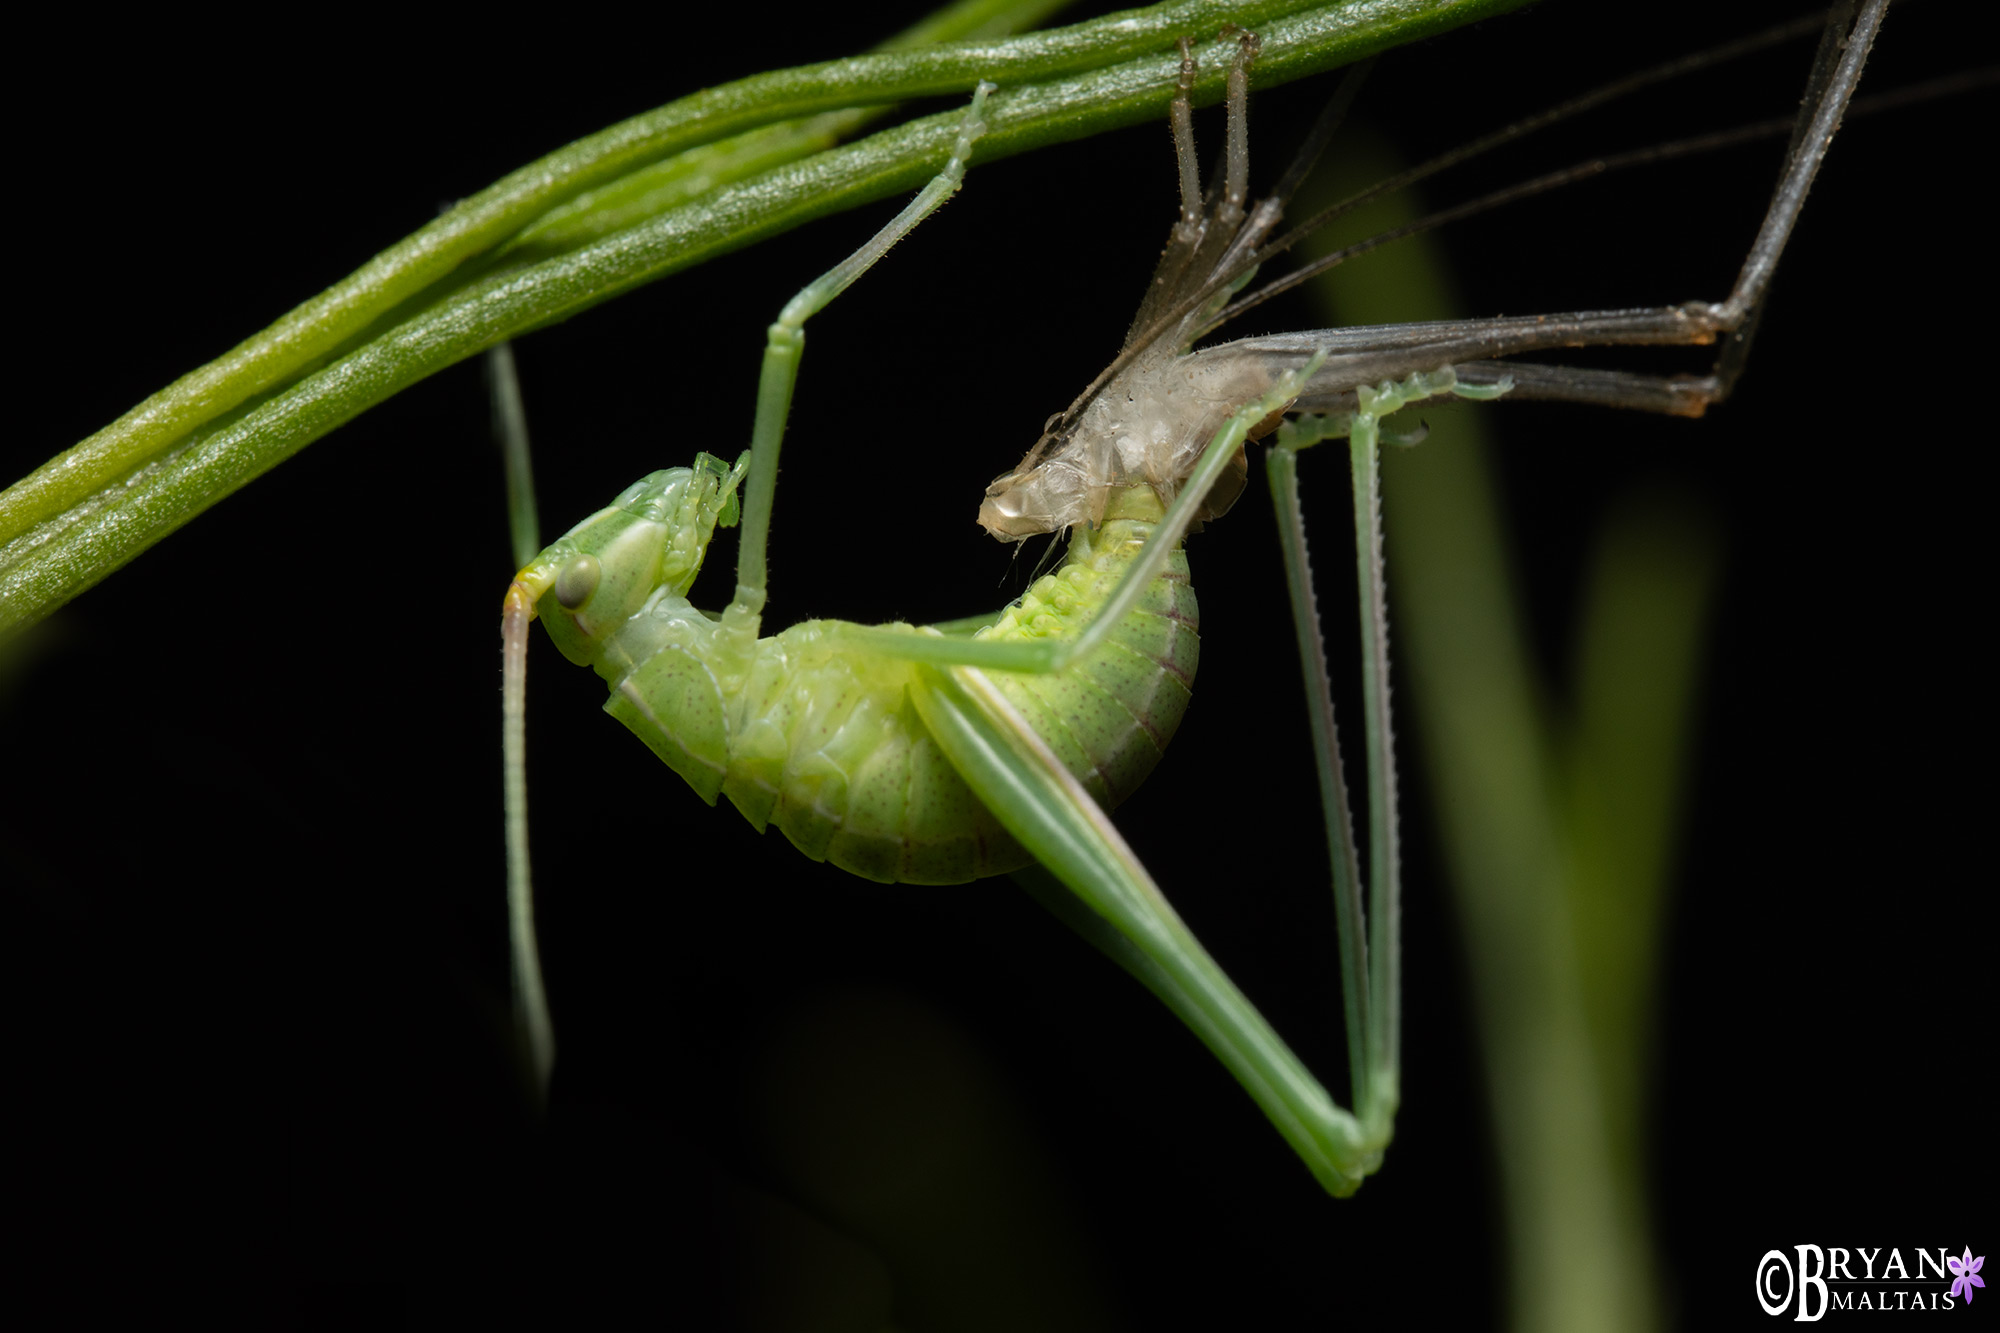
Top right-Green Tree Cricket. Manual mode was used because flash was the sole source of illumination.
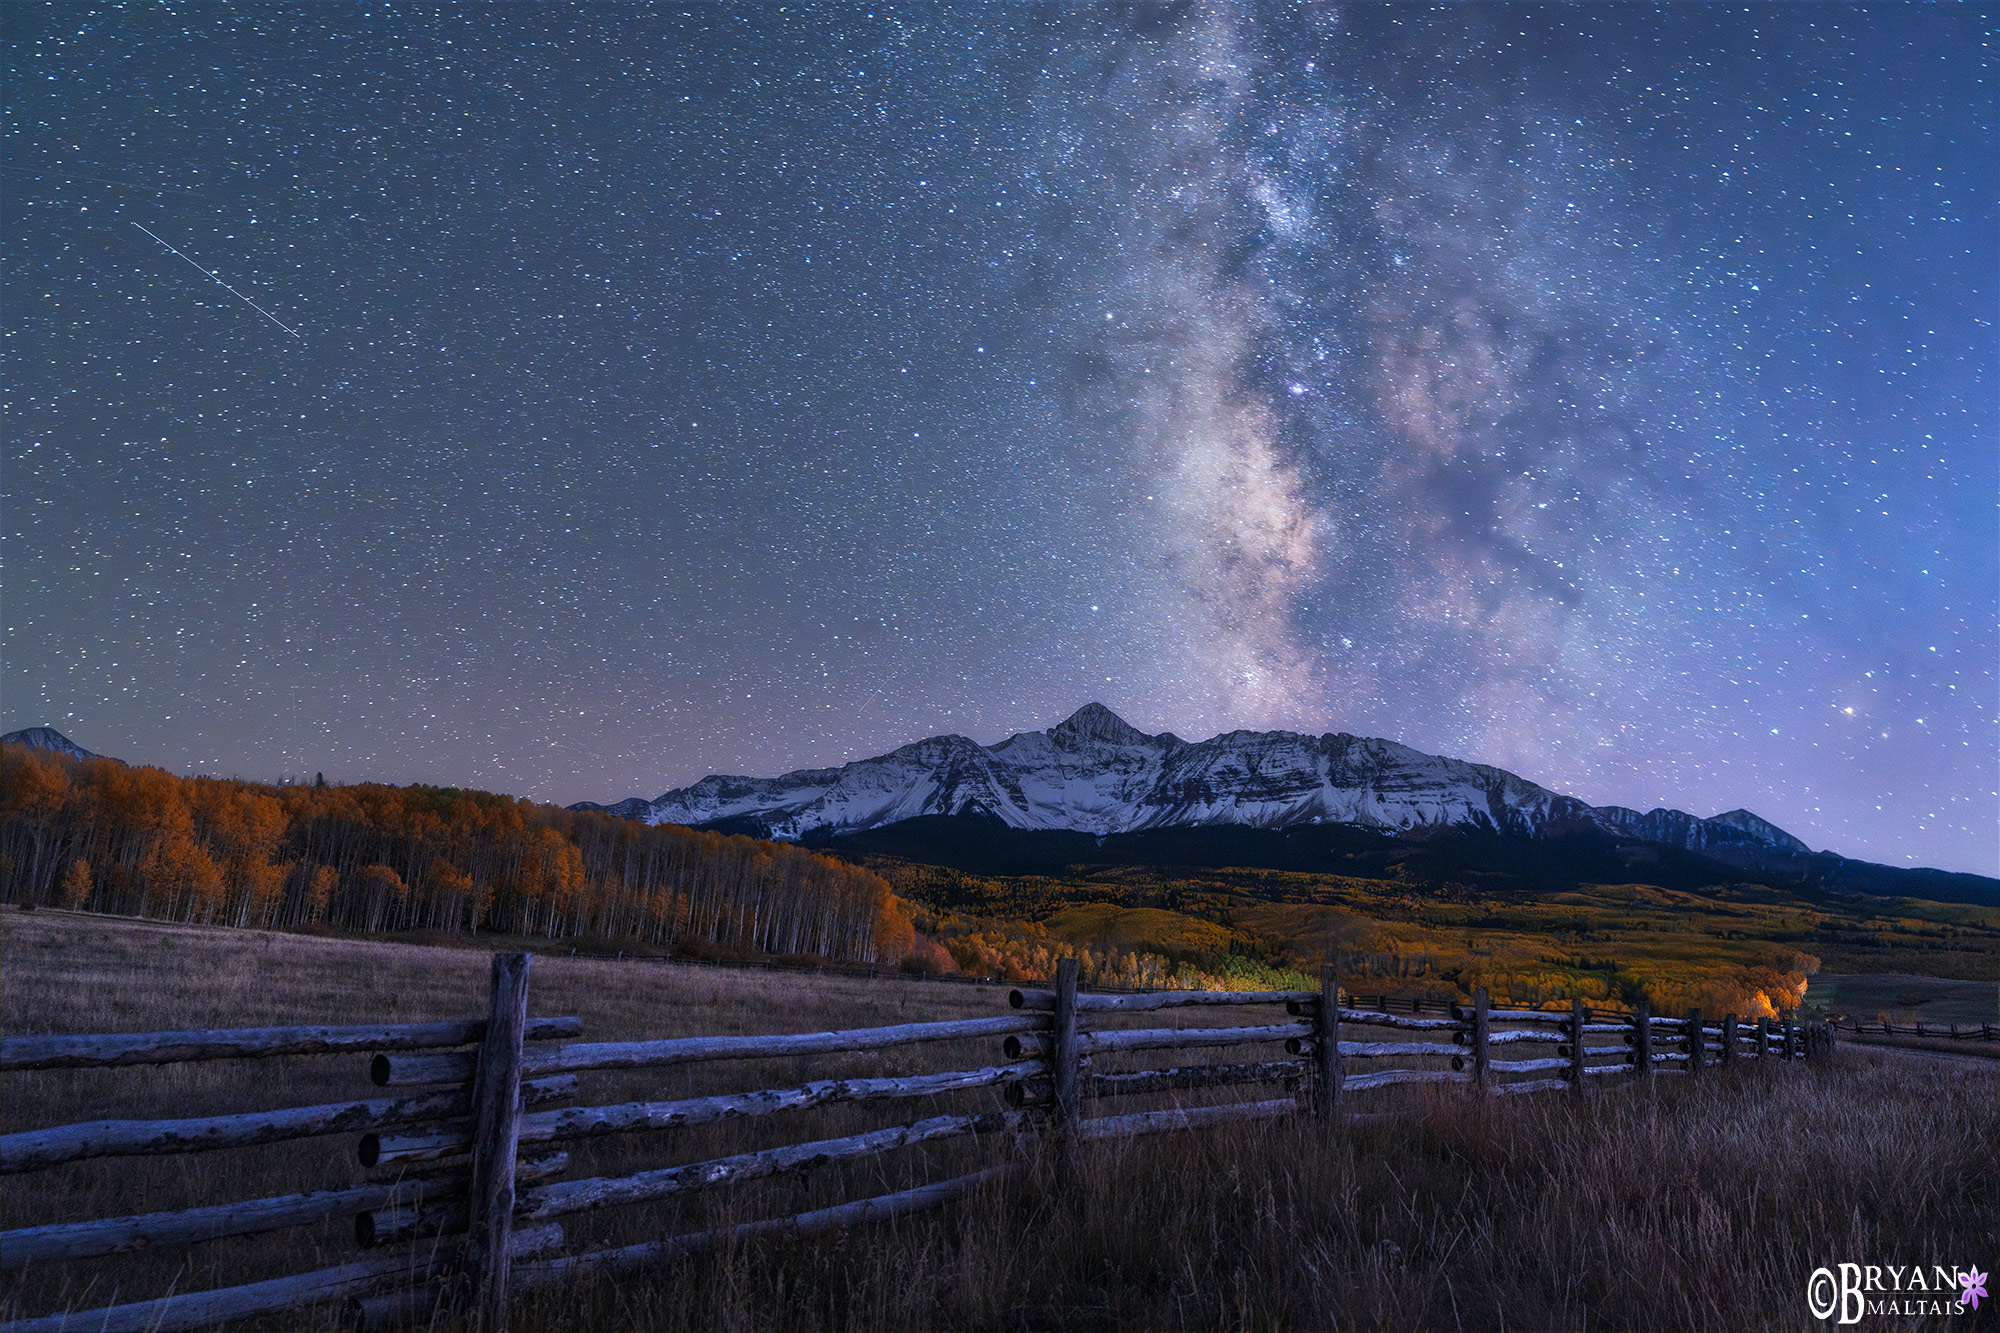
Bottom left-Autumn Milky Way. Manual mode was used because the night sky is too dark for the camera to make accurate light readings and adjust the settings itself.
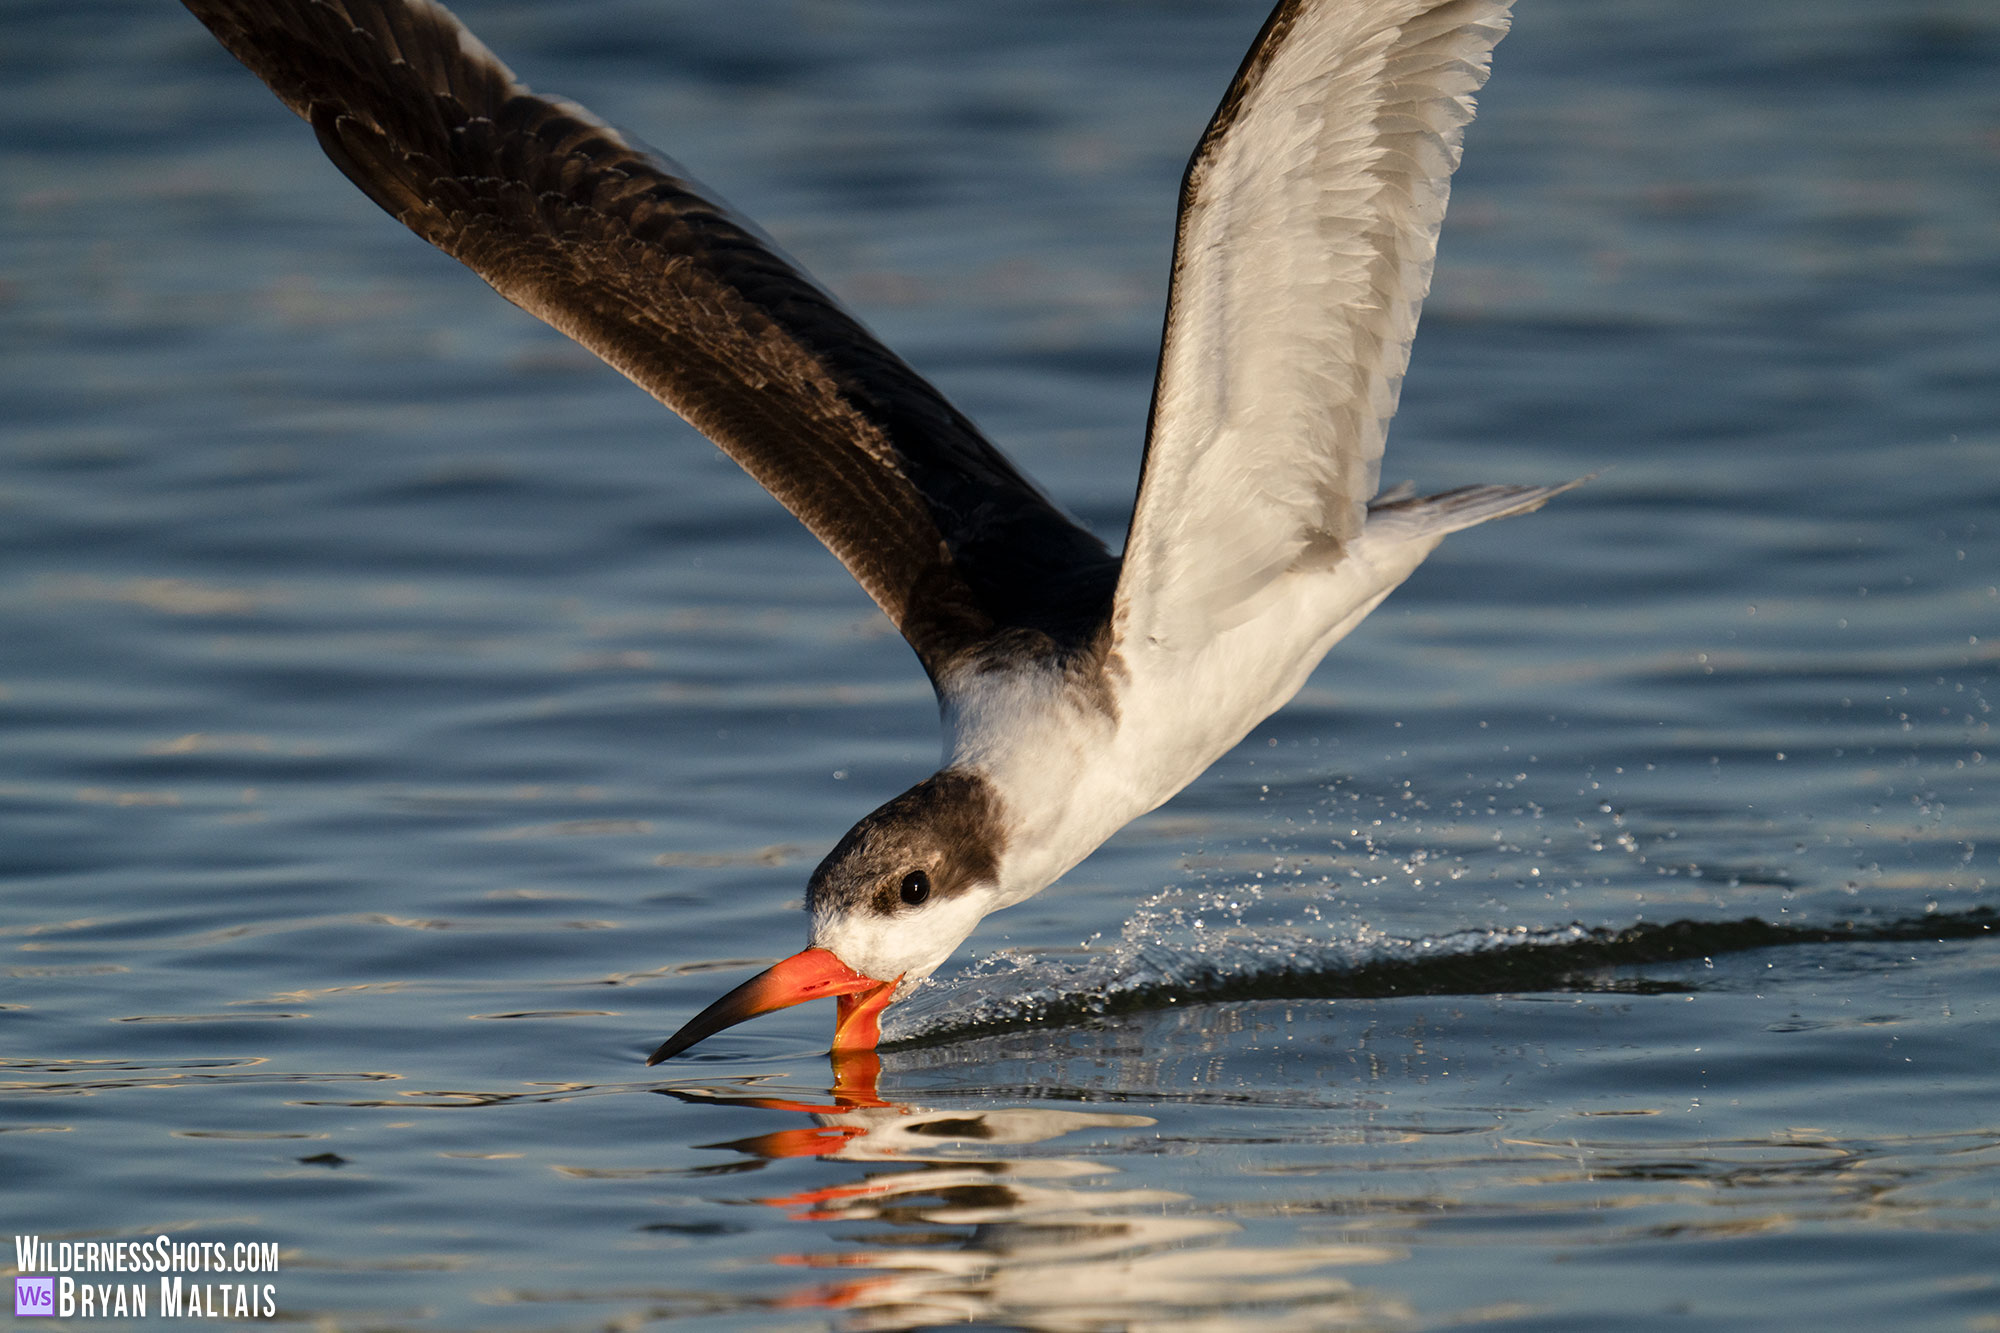
Bottom right-Black Skimmer. Manual + Auto ISO mode is ideal for wildlife because you retain control over aperture and shutter speed, while the camera handles exposure through the ISO.
