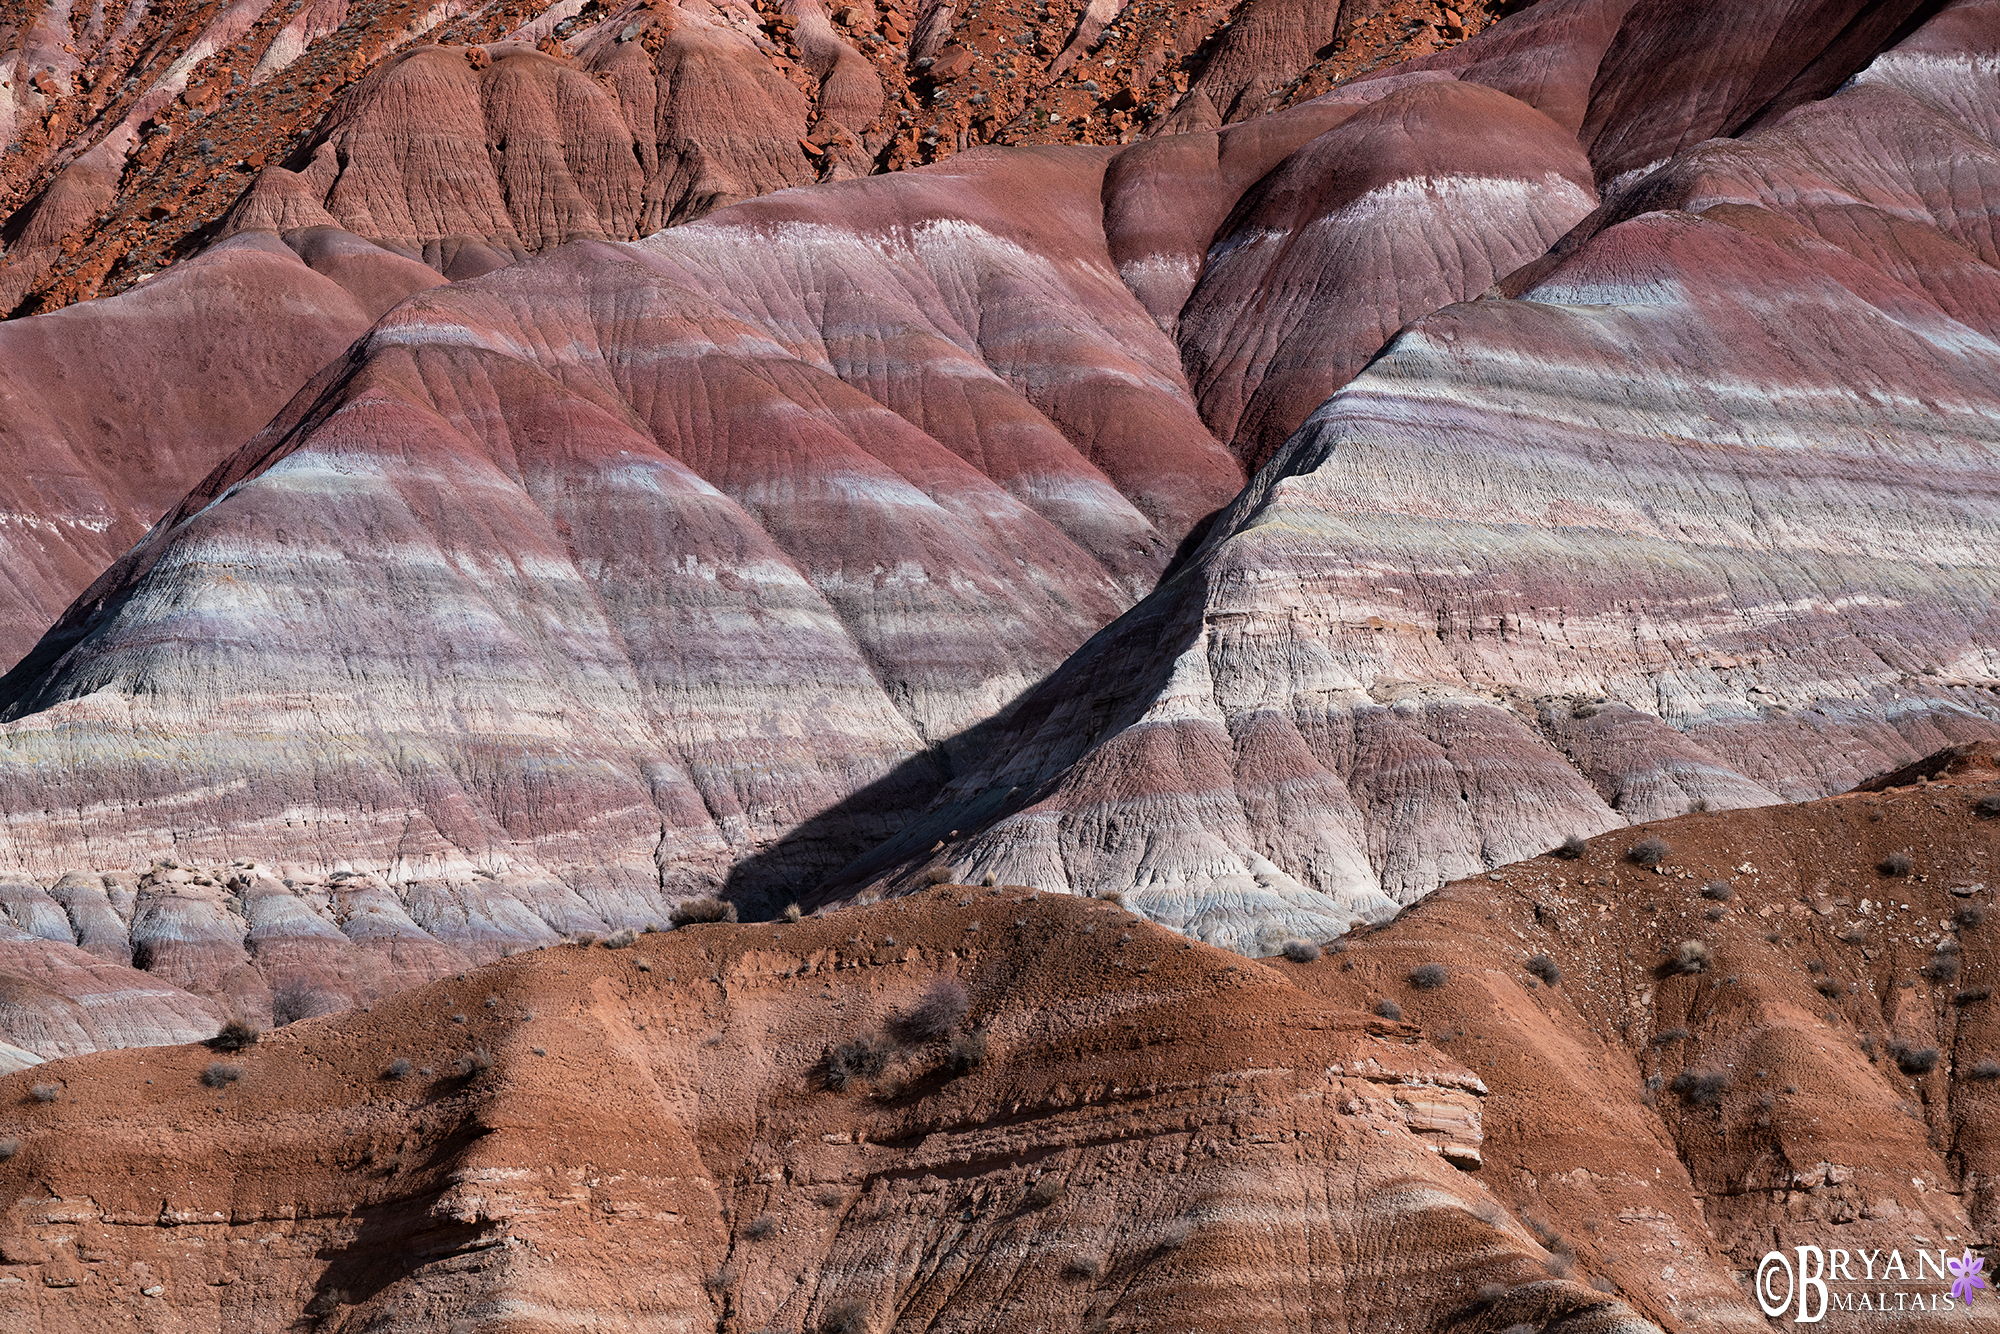
How to use White Balance in Photography
The purpose of your camera’s white balance is to maintain natural looking color tones in the photo. The hue of light is called its temperature and is measured in Kelvin (K). The world is full of light sources with different temperatures, which is why the camera needs adjustable WB. A dark, overcast sky has a cool temperature of about 10000K. The neutral, white light of the mid-afternoon sun is about 5500K. The warm light of an indoor incandescent light is about 2500K. WB is accurate if objects that appear true white in the scene come out looking white in the photo.
The camera’s WB uses an algorithm to detect a light source’s temperature, then brings it back to neutral by adding warm or cool hues to the image to keep whites white. The human eye also sees hues from different light sources, but our brain keeps them consistent with its own WB called color constancy.
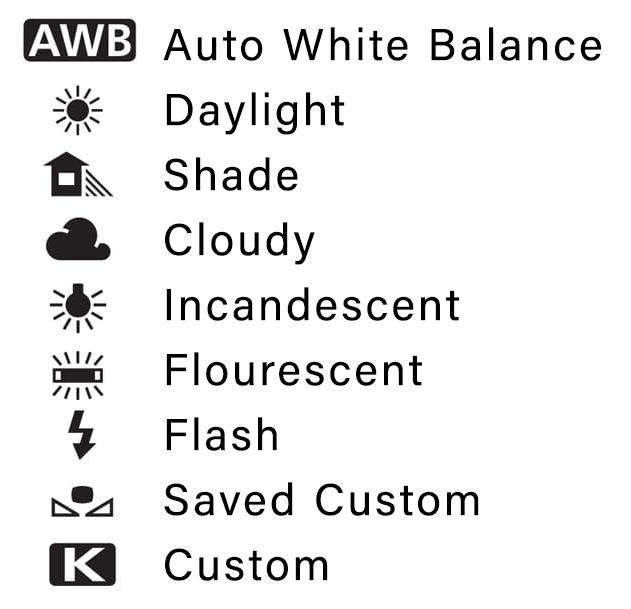 You typically have 3 options to set WB; Auto WB, WB Preset, or you can manually set a custom K temperature. Setting WB is easy. Most cameras either have a dedicated “WB” button that you press and then rotate one of the dials to select a WB option, or it can be found by pressing the camera’s quick menu button (usually labeled “Fn”, “OK”, or “SET”, etc…).
How to choose proper White Balance in the Camera
The color science of modern cameras is so accurate that you can shoot in Auto WB most of the time. As the name implies, Auto WB handles color management based on the ambient light source without you having to worry about it. However, it can be fooled when the scene has large areas of warm or cool tones. For example, a composition filled with orange autumn leaves will cause the camera to perceive a warm light source and add an unnatural blue tone to cool it down. If this happens and your images have an unnatural color cast, switch from Auto WB to the preset that matches the ambient light source. For example, if you shot the leaves on a sunny afternoon, select daylight WB.
You can also render a custom color hue by dialing in a specific Kelvin temperature. This is particularly useful in night sky photography where there isn’t enough light for the camera to calculate accurate WB. Auto WB reads the dark sky as cool, so it compensates by setting a high K temperature. This adds too much warmth and causes red stars. To cool the image down, you would select the “K” icon in the WB menu and set a low K temperature like 3800. The Kelvin range on most cameras is 2500-10000k.
White Balance isn’t very Important
Setting exact WB isn’t actually very important as long as you shoot in RAW. This may sound counterintuitive. After all, you’ve been taught to nail perfect shutter speed, f/stop and ISO in the camera because you can’t fix them via post-processing without trade-offs. This is true. WB, however, isn’t a baked-in part of the RAW file. It merely tells the display device how to show the colors in the image. You can correct them in post-processing without destroying any image data. This means that if an image has a terribly unnatural looking color cast because you shot with the wrong WB preset, you can easily correct it in post. The bad news for JPEG shooters is that WB is permanently baked into the file and can’t easily be corrected in post. This demands nailing WB in the shot, leaving no room for error. This is another reason to always shoot in RAW.
I’m not advising being sloppy with setting WB, just that you shouldn’t waste time getting it perfect if there’s a fleeting shot. Capturing good WB in the shot shows the preview image with accurate color tones. This allows you to better judge whether you’ve captured the shot. It’s also one less step in post.
Correcting White Balance is easy
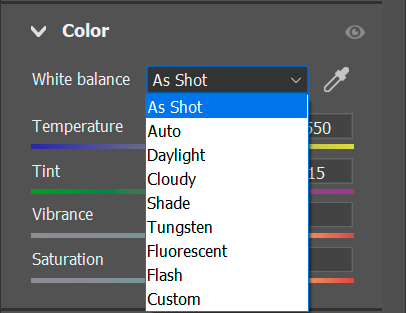
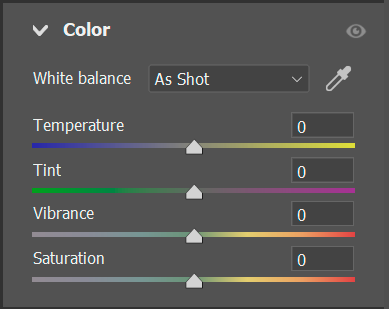
In Adobe (Lightroom or Camera RAW), there are three ways to easily correct WB. One is to select a preset from the dropdown menu (auto, cloudy, daylight etc…). You can also manually drag the temperature slider until a natural tone is reached. Or you can take the dropper tool, located beside the dropdown, and click on neutral gray areas within the image until the colors in the shot look natural.
In summary, Auto White Balance is accurate enough to use most of the time. If your images have an unnatural color cast, use the WB preset that matches the ambient light. For tricky lighting situations where the camera can’t figure out WB, set it manually by selecting a custom Kelvin temperature. If shooting RAW, WB doesn’t have to be perfect because you can easily correct it in Adobe without destroying the file. If shooting JPEG, however, you have to accurately set WB because it becomes a permanent part of the file that can’t be easily corrected in post.
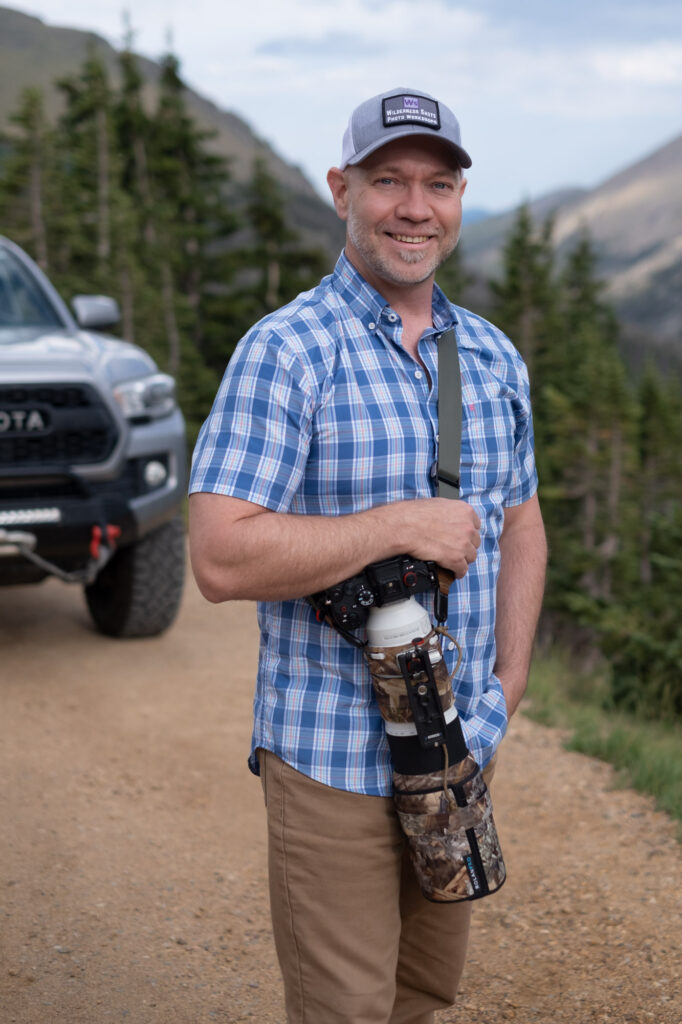
 About Bryan Maltais- Fort Collins, CO
Bryan Maltais is an award-winning professional photographer, film-maker and founder of Wilderness Shots Photography Workshops. His images are displayed in spaces around the world and have been published in well known photography magazines and media channels. He’s also the author of “Infinite Horizons-The Complete Nature & Landscape Photography Guide“.
“I was addicted to exploring nature and observing animals very young, keeping terrariums full of insects and amphibians. Craving a camera to capture the beauty that I witnessed in nature, my dad gave me a manual Canon that he had lying around from 1970. A military brat, I grew up in Germany, New Jersey and Missouri. I received my BS in Wildlife Biology at the University of Missouri-Columbia. This gave me a good foundation for understanding the natural world. I also did a stint in the Army, which gave me a good foundation for tolerating insects and lack of sleep. My dream was to live in the Rocky Mountains, so after college I moved to Ft. Collins, Colorado where I still live today. Since then I’ve been shooting and documenting the American West and producing wildlife nature documentaries. My latest film is on Amazon Prime. My goal with nature photography workshops is to share knowledge, fun and adventure with others while enjoying nature. I currently shoot Sony and Olympus gear. When not photographing, I garden in my raised beds and teach 3-4 year olds in Sunday School.”


 About Bryan Maltais- Fort Collins, CO