What are Light Metering Modes?
The metering mode determines which parts of the scene the camera measures to calculate exposure. The standard metering modes on most cameras are Matrix, Center-weighted, Spot and Highlight Priority (some brands have different names and icons for each). Let’s take a look at the differences between metering modes and when to use each.
![]() Matrix Metering divides the entire frame into zones and measures brightness in each one individually. It then averages them together for proper exposure in the entire scene. More than just an average, Matrix Metering also biases exposure for the focus point, factors in subject distance, and uses algorithms to correct for any potential under or overexposure caused by disproportionately bright or dark areas. You should primarily use matrix metering because it does a good job determining exposure in most lighting situations.
Matrix Metering divides the entire frame into zones and measures brightness in each one individually. It then averages them together for proper exposure in the entire scene. More than just an average, Matrix Metering also biases exposure for the focus point, factors in subject distance, and uses algorithms to correct for any potential under or overexposure caused by disproportionately bright or dark areas. You should primarily use matrix metering because it does a good job determining exposure in most lighting situations.
![]() Center-weighted Metering averages brightness of the whole scene, while prioritizing the center. This is useful when the subject occupies a large part of the frame’s center, and you want to exclude metering off the margins, like a bright sky.
Center-weighted Metering averages brightness of the whole scene, while prioritizing the center. This is useful when the subject occupies a large part of the frame’s center, and you want to exclude metering off the margins, like a bright sky.
![]() Spot Metering measures brightness of just the focus point, while ignoring the rest of the frame. This is useful when photographing subjects with a different brightness than the rest of the scene, or when the subject is backlit. For instance, when photographing birds in flight, it keeps accurate exposure on the bird if it flies through the bright sky. Matrix Metering would measure the brightness of the sky, causing the bird to look like a dark silhouette.
Spot Metering measures brightness of just the focus point, while ignoring the rest of the frame. This is useful when photographing subjects with a different brightness than the rest of the scene, or when the subject is backlit. For instance, when photographing birds in flight, it keeps accurate exposure on the bird if it flies through the bright sky. Matrix Metering would measure the brightness of the sky, causing the bird to look like a dark silhouette.
 Highlight-Priority Metering measures brightness of the brightest parts of a scene to render proper exposure in the highlights. This usually results in the rest of the scene being too dark from underexposure, but with preserved detail in the highlights. This mode is useful for photographing bright subjects like an Egret, or scenes with many highlights like a cloudy sky.
The camera’s light metering system calculates exposure by comparing whether each pixel in the frame is brighter or darker than 18% gray, which is 50% between black and white. If the majority of pixels are darker, then the camera adds exposure. If they’re brighter, it reduces exposure. It adjusts exposure according to exposure mode. In Aperture Priority mode it adjusts the shutter speed, in Shutter Priority it adjusts the aperture, in Auto ISO it adjusts the ISO, and in Auto modes it adjusts all of them. In manual mode the camera doesn’t adjust any of the settings, but the metering system remains active so that you can use the exposure indicator.
What is Exposure Compensation?
Exposure compensation is an easy to use setting that lets you correct exposure when the camera’s settings cause over or underexposure. You can recognize bad exposure if the shadows are clipped (too dark with no detail) or the highlights are blown-out (white with no detail). To correct either of these with exposure compensation, simply dial in more (+) or less (-) exposure. Exposure compensation is available in any of the shooting modes where the camera controls exposure (A, S, P and Auto modes). It doesn’t work in Manual mode because you control exposure through all three settings (unless Auto ISO activated).
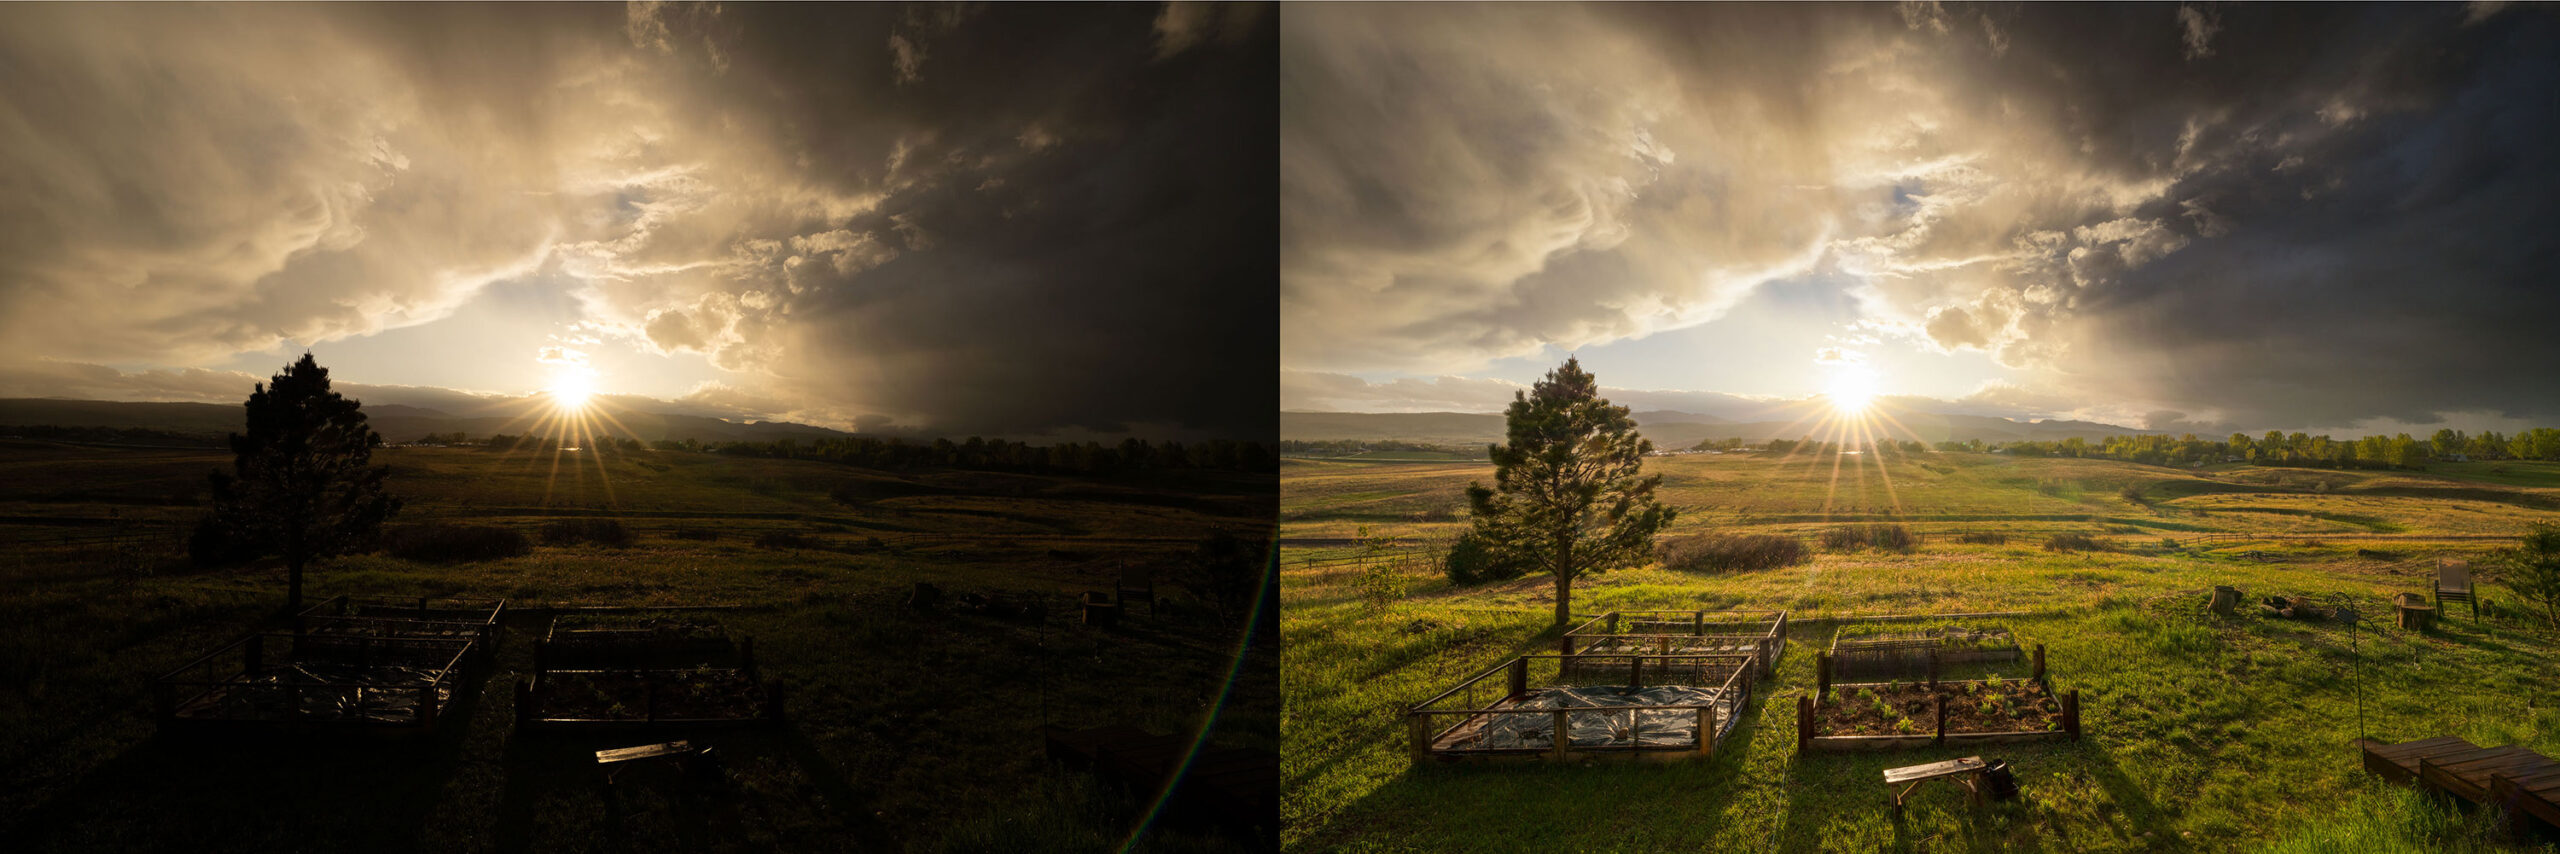
Inaccurate exposure can happen when there are disproportionate light or dark areas in a scene. This skews exposure as the camera overcompensates by trying to average the scene back to 18% gray as discussed in Metering Modes. Large areas of light or dark color that aren’t actually brighter or darker in luminosity can also fool the light metering system.
For example, a landscape with a little bit of foreground and mostly sky in the frame can cause the camera to underexpose the image by several stops. In the resulting image, the sky is darker than normal, and the landscape looks like a dark silhouette with little detail. Dialing in positive exposure compensation fixes this. Conversely, in a composition filled with a black Water Buffalo, the camera may read this as a dark scene, and consequently overexpose the image. The skin of the Water Buffalo would look gray instead of black in the resulting image.
Placement of the exposure compensation control varies among cameras. It could either be a dedicated dial or a button that you push while rotating a dial. It’s denoted by a +/- icon. Most cameras allow adjusting exposure compensation by 3-5 stops, in 1/3 stop increments.
In difficult lighting situations that skew Matrix Metering, you’d typically either use exposure compensation or one of the alternate metering modes. You can think of Exposure Compensation as a manual correction, and exposure modes as “auto” exposure compensation.
 About Bryan Maltais- Fort Collins, CO
Bryan Maltais is an award-winning professional photographer, film-maker and founder of Wilderness Shots Photography Workshops. His images are displayed in spaces around the world and have been published in well known photography magazines and media channels. He’s also the author of “Infinite Horizons-The Complete Nature & Landscape Photography Guide“.
“I was addicted to exploring nature and observing animals very young, keeping terrariums full of insects and amphibians. Craving a camera to capture the beauty that I witnessed in nature, my dad gave me a manual Canon that he had lying around from 1970. A military brat, I grew up in Germany, New Jersey and Missouri. I received my BS in Wildlife Biology at the University of Missouri-Columbia. This gave me a good foundation for understanding the natural world. I also did a stint in the Army, which gave me a good foundation for tolerating insects and lack of sleep. My dream was to live in the Rocky Mountains, so after college I moved to Ft. Collins, Colorado where I still live today. Since then I’ve been shooting and documenting the American West and producing wildlife nature documentaries. My latest film is on Amazon Prime. My goal with nature photography workshops is to share knowledge, fun and adventure with others while enjoying nature. I currently shoot Sony and Olympus gear. When not photographing, I garden in my raised beds and teach 3-4 year olds in Sunday School.”





 About Bryan Maltais- Fort Collins, CO